By Jamie Morningstar — One of my family’s most treasured annual traditions is our trip down to Colima, Mexico to visit with, serve, and enjoy precious time at Hogar de Amor Orphanage. We started traveling to Colima in 2013 and over the years have forged deep relationships with the kids and caregivers. We usually take a large group to Mexico for the trip and spend our time doing projects around the orphanage, doing activities with the kids, and having a wonderful time together.
But, of course, the past two years have been anything but “usual”. We had to cancel last year’s trip completely, and this spring we traveled as a small family rather than bringing down a large group. This meant that we also needed to rethink our normal schedule of activities at the orphanage, since we wouldn’t have enough people to take on major projects. In addition, since schools still aren’t open in Colima, we needed to target activities we could ideally do alongside the kids.

Slowly, an idea emerged — what about bike repairs?
I hadn’t really thought of bike repairs as a form of community engagement and service, but the more we thought about the idea, the more it made sense. We could bring down a set of basic bike repair tools and supplies that we could leave with the orphanage staff for future maintenance. Not only would we be engaging the kids while we were there, but we would also teach them skills that they could use to care for their own bikes. Plus, we love bikes!
We contacted our local bike shop, Mad Dog Cycles, who kindly collaborated with us to sponsor and work out a discount for supplies to take to Mexico. We made our best guesses regarding the things we would need (more details on that, below), and we were on our way!

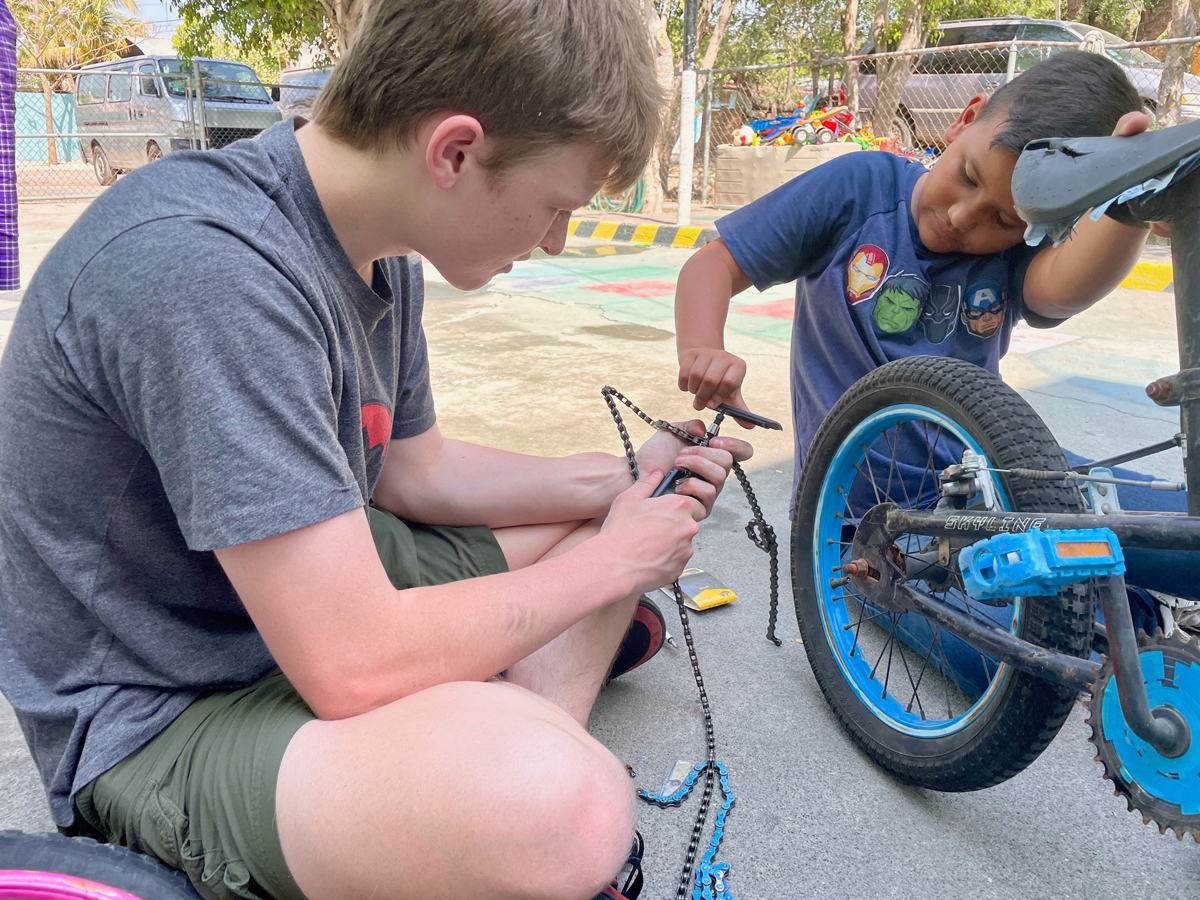
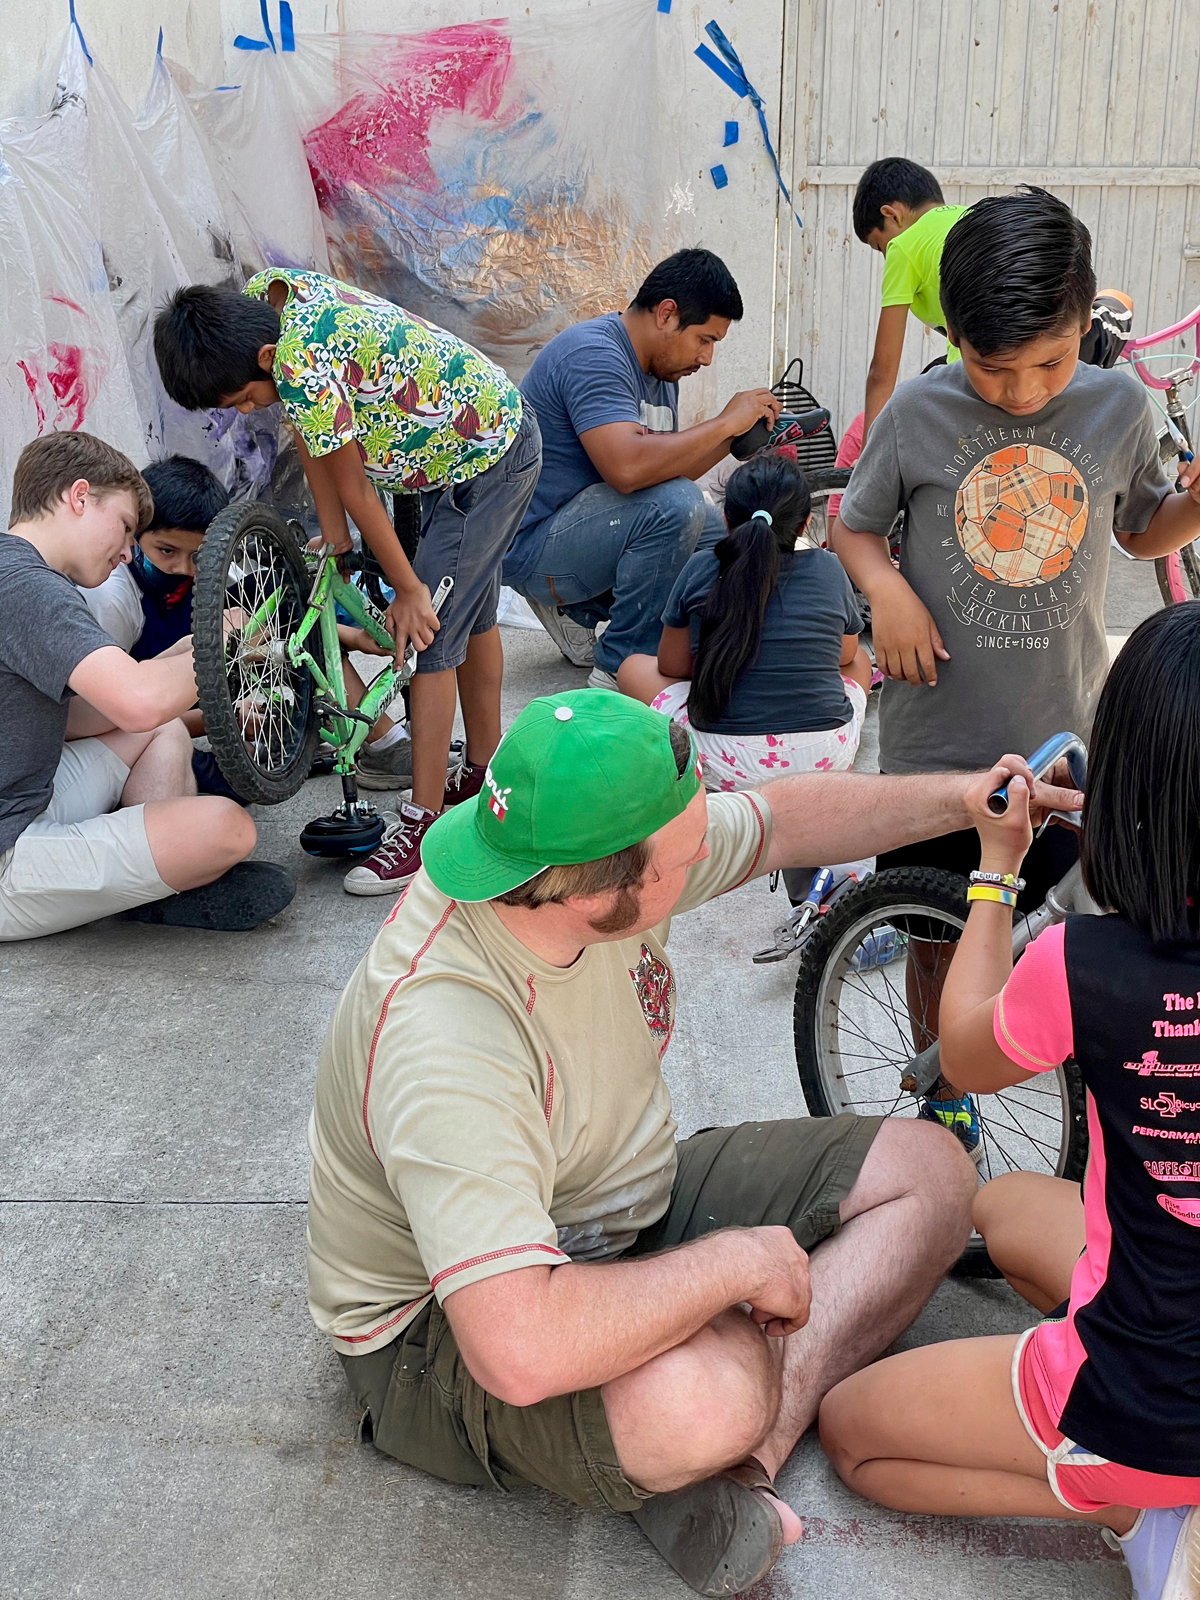
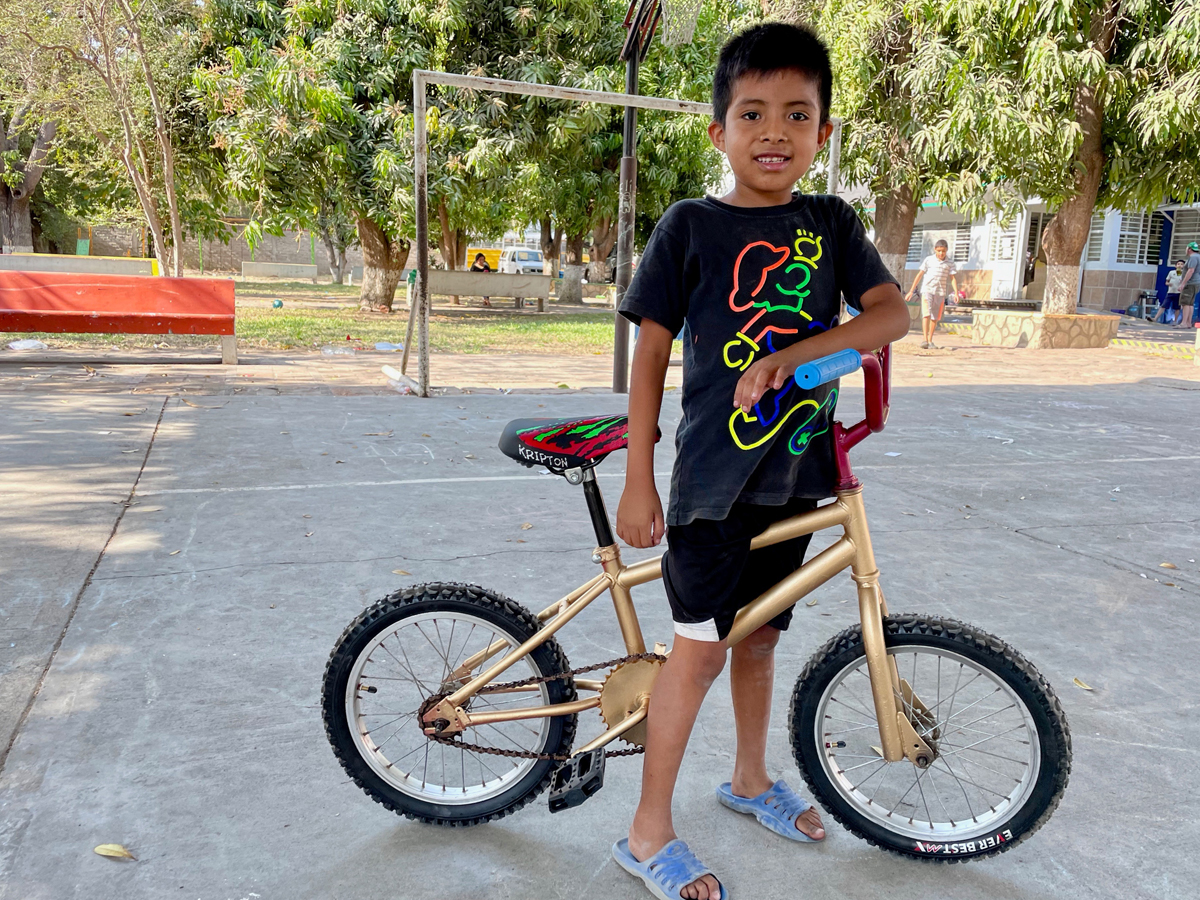
We had so much fun hanging out with the kids, getting greasy and dirty together, fixing and re-fixing parts, spray painting bikes, and transforming some pretty beat-up bikes into ones that the children were excited to use. We made a lot of mistakes along the way, and we think we lost the confidence of several kids on that first day when we had to YouTube how to use a chain breaker. What we lacked in skills, we made up for in adventurous, collaborative spirits. We had a blast.
At the end of day one, we had only three repaired bikes to show for our day’s effort, and we were feeling a little sheepish. Then one caregiver brought us right back to the purpose of our time by reminding us that each bike brought ten smiles and an entire day of fun together – and that was the real reason we were in Mexico.
It was fun to see the different jobs that the kids gravitated to. Some loved to dismantle the bikes and got really into the mechanics of the thing. Others loved to clean the bikes off and prep them for painting, removing every decal. Some loved the painting (ok, they all loved the painting). A few kids would stay right by our sides the whole time, some would come and go. That’s part of what made this activity so great – it appealed in various ways to a diverse group of kids.

After 9 years of annual travel to the Hogar de Amor Orphanage, this was one of our absolute best trips. We engaged with the kids in a unique way, side by side and with very grubby hands. That got me thinking – you don’t need to travel to a different country or to an orphanage to engage with your community over bike repairs. Maybe you could organize a repair afternoon for a local elementary school, or for your neighborhood or church. I would even bet there is a person in your neighborhood with a broken-down bike they’d love to ride, if only someone would help them fix it.
I love cycling because of the community connections I make on the bike. And now I love cycling even more because of the community connections I make putting the bike back together!
Supplies
If you’re interested in running a bike repair clinic, here’s our list of recommended supplies.
Basic bike kit (the stuff you’ll need all the time and can leave with folks so they can do their own repairs)
- Bike repair multi tool with a variety of hex keys and a chain breaker
- An adjustable crescent wrench
- A pair of needle nose pliers
- Tube patch kits
- Chain lube
- An inexpensive screwdriver with multiple bits
- A sturdy tool bag to store it all in
Other stuff to have on hand
- A few new chains
- A few tubes (but in our experience it’s hard to anticipate the sizes you’ll need, so don’t overbuy). We used mostly 16” and 20” tubes on our trip.
- WD-40 or another multi-purpose lubricant
- One or two pumps
- A can of penetrating lubricant, like PB Blaster, for the rusted-on bolts
- A hacksaw, for the bolts that you really can’t get off
- A few sets of brake cables
- Spray paint for metal and clear sealant. Take off the nozzles before they are within reach of children – just trust me on that one.
- A roll of painter’s tape, for making cool stripes on the bikes you’re painting
- A few sets of pedals (mostly 1/2”)
- A few sets of grips
- A few bike seats
- A really adventurous spirit and sense of humor, and the knowledge that you won’t be able to fix every issue, but you can be grateful for the ones you can fix!
- YouTube


Excellent story and project. I would like to get involved too. Please email me back if there is room for another pair of hands & a possible source of bike parts.