By Tom Jow — Last month during my trip to Oakridge, Oregon I noticed my brake performance beginning to deteriorate. Specifically, my rear brake lever was feeling soft and pulling almost to the bar. In addition, both brakes just did not feel as strong as they did when they were new a couple of months ago. Considering I was headed to Brian Head for the Big Mountain Enduro later in the month I decided that some brake service was necessary.

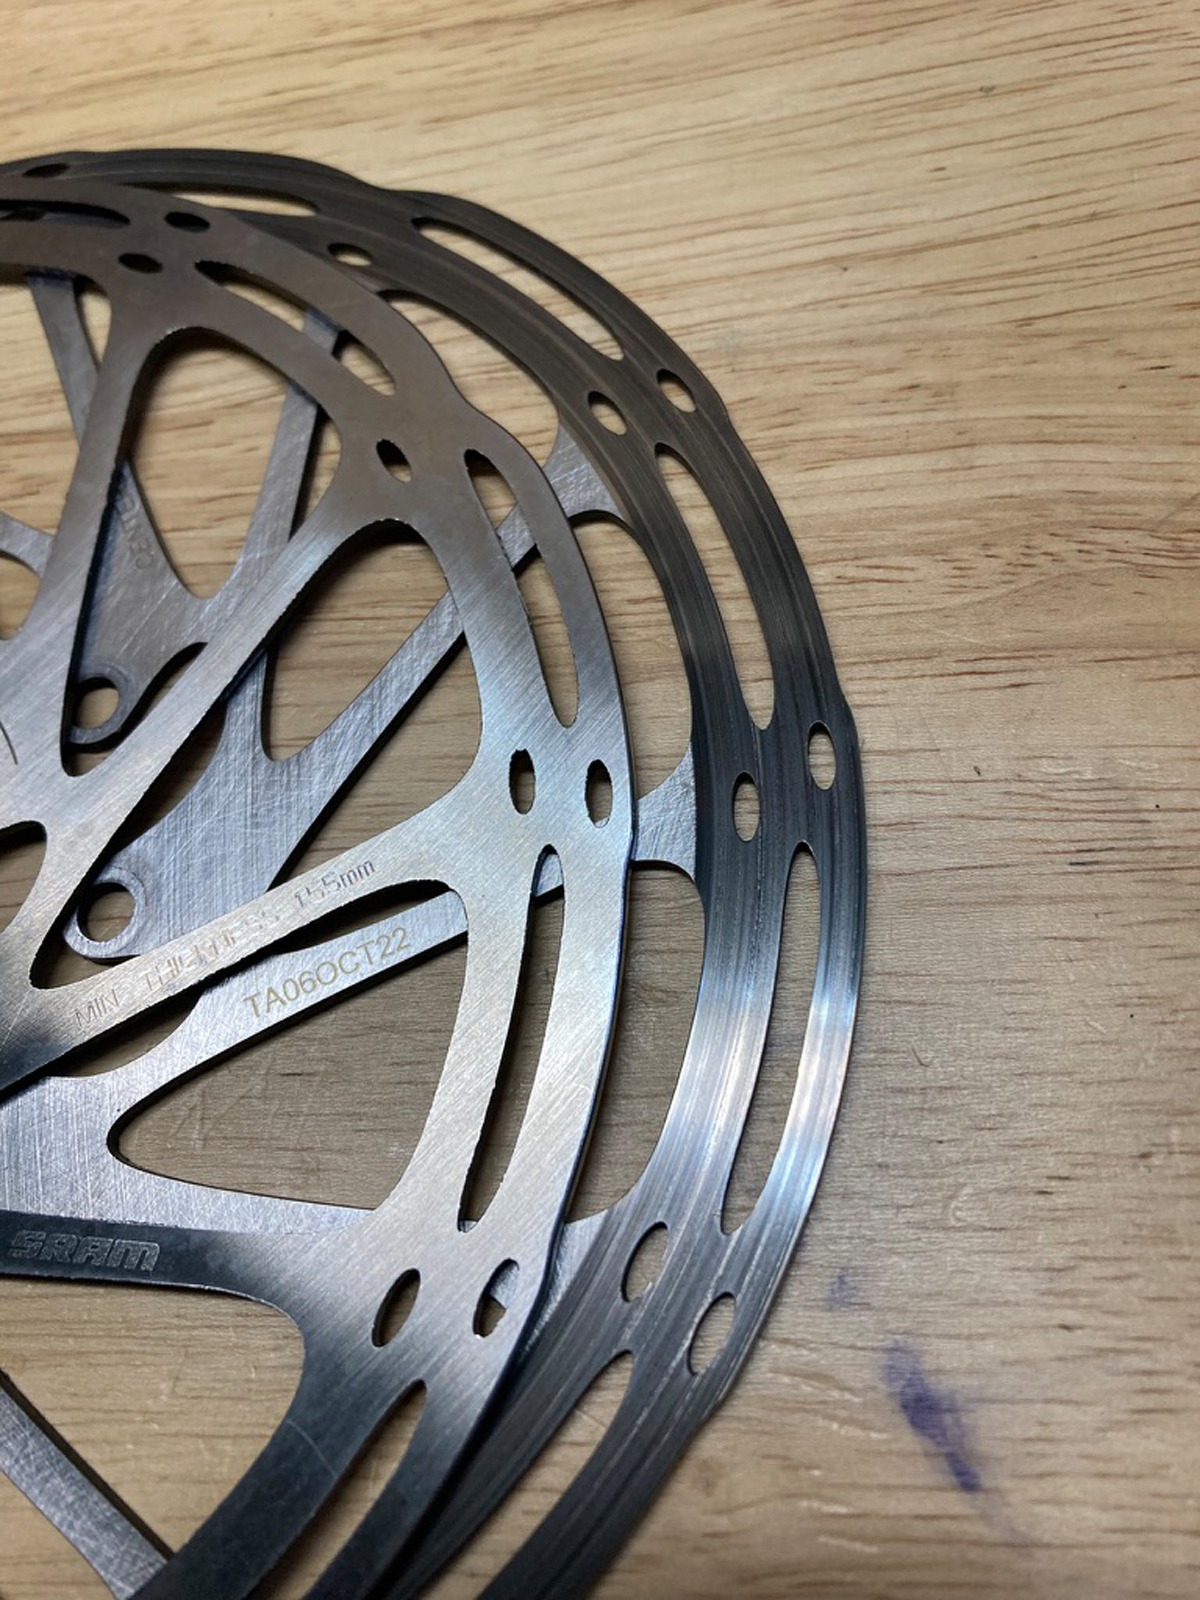
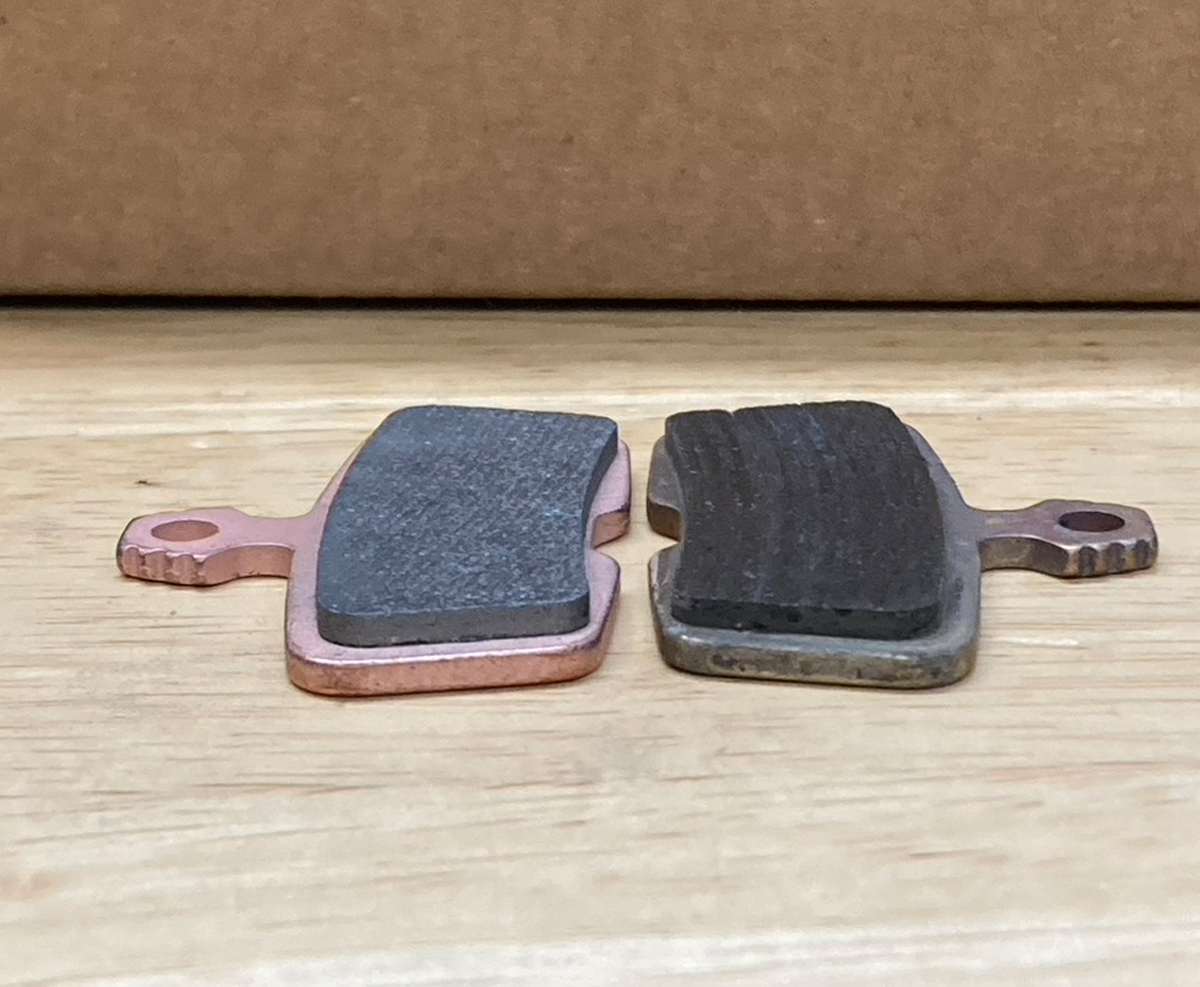
My plan was this. Replace the pads because they are easy and bleed the rear brake since the lever was acting up. On removing the brake pads, it was clear that they needed to be replaced. The braking surface had a slight shiny glaze as well as a dark, burnt appearance. The discoloration of the backing plates was evidence that the brake pads had been hot, hot, hot! What surprised me though was the fact that the pads were barely even worn. On previous bikes I have used a set of brake pads for a whole season. Have I really been putting up with such poor brake performance? (Longtime readers you know I can put up with a lot). Another thing surprised me. My rotors had been “cooked”. The brake surface of the rotors looked like the brake pads; dark blue and glazed, scored, and scratched from debris. And just like the brake pads they were barely worn. It was clear that both the pads and rotors would need to be replaced.
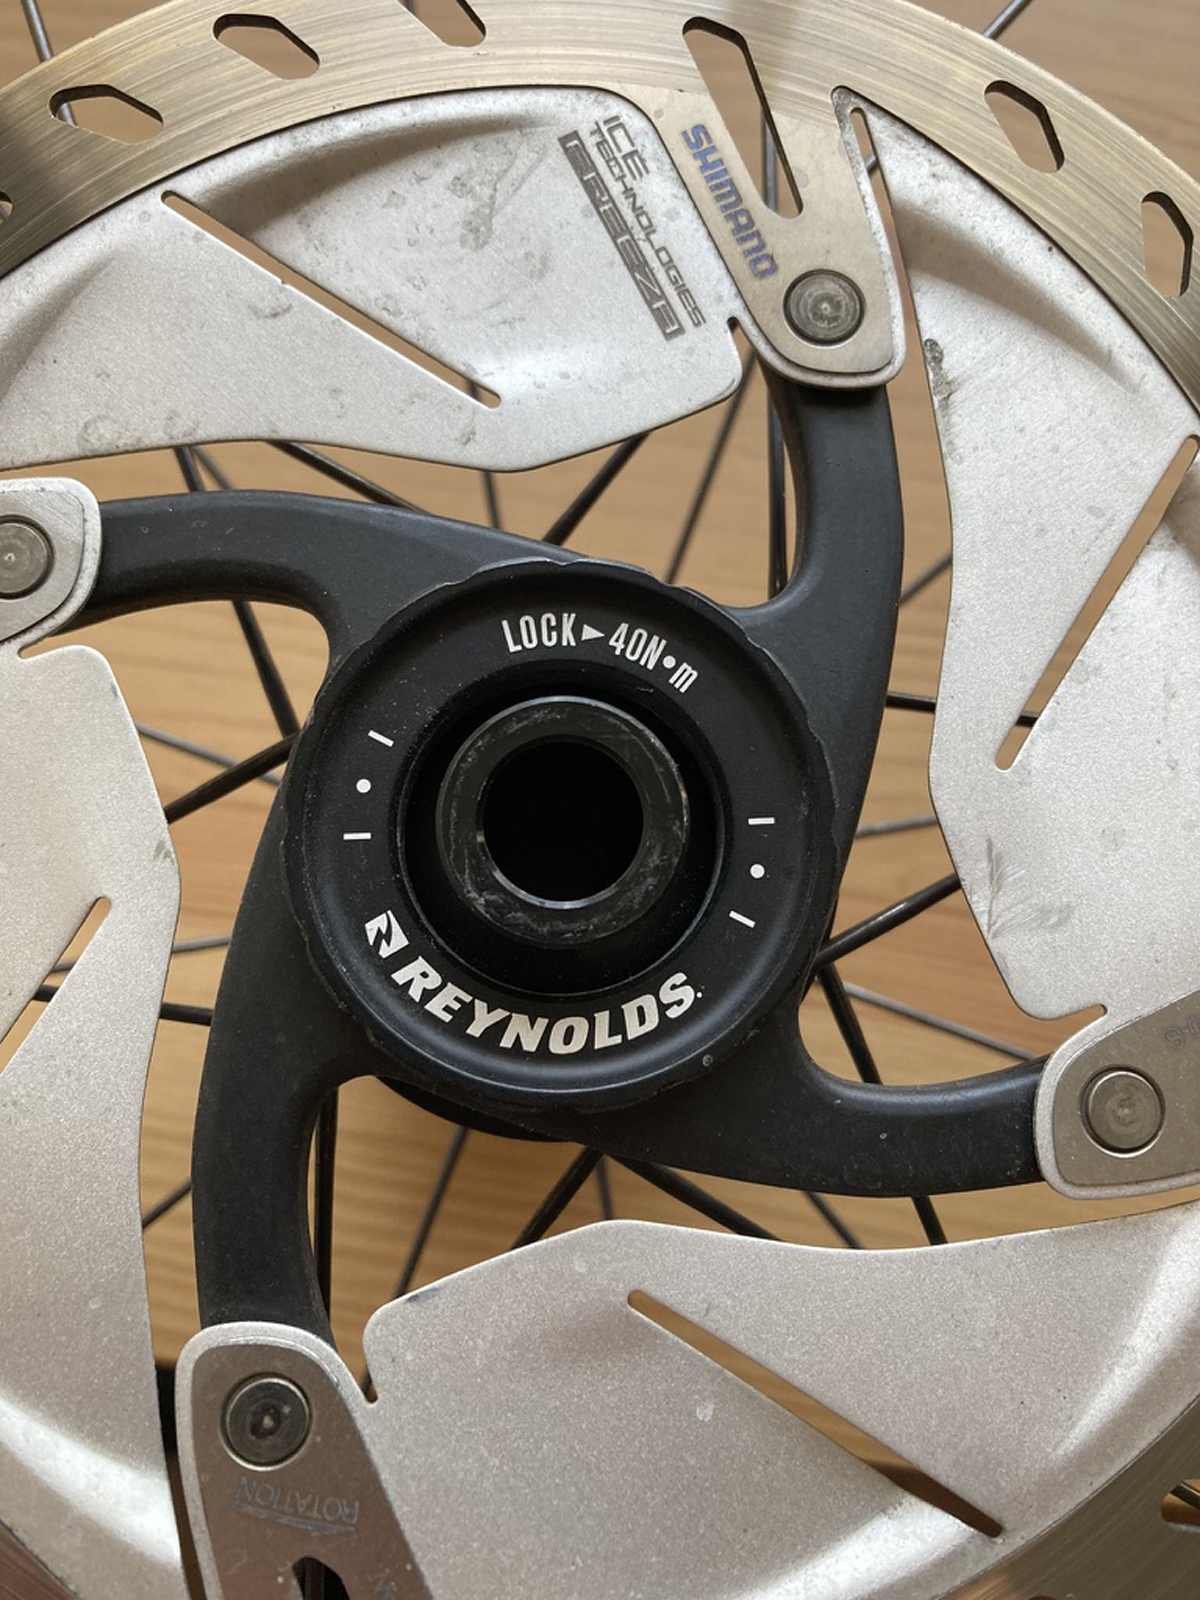
To replace the brake pads and rotors is usually a pretty easy job. Begin by removing the wheels from the bike. Next remove the rotors. There are two types of mounting for brake rotors, 6-bolt and center-lock. It is also possible for 6-bolt rotors to be used on center-lock hubs with an adapter. To remove a 6-bolt rotor, use a T25 Torx wrench. In order to remove a center-lock rotor, a Shimano bottom bracket wrench is required. Remove the lock-ring by turning counter-clockwise. Once the lock-ring is removed, lift the rotor off the splines.
When installing new rotors there are a couple of things to keep in mind. First, keep the braking surface of the rotors clean and free from any oil. Handle the rotors in the center. Second, install the rotor with the printed label facing away from the hub with the rotational arrow oriented in the direction of rotation. It’s not difficult to install rotors incorrectly.
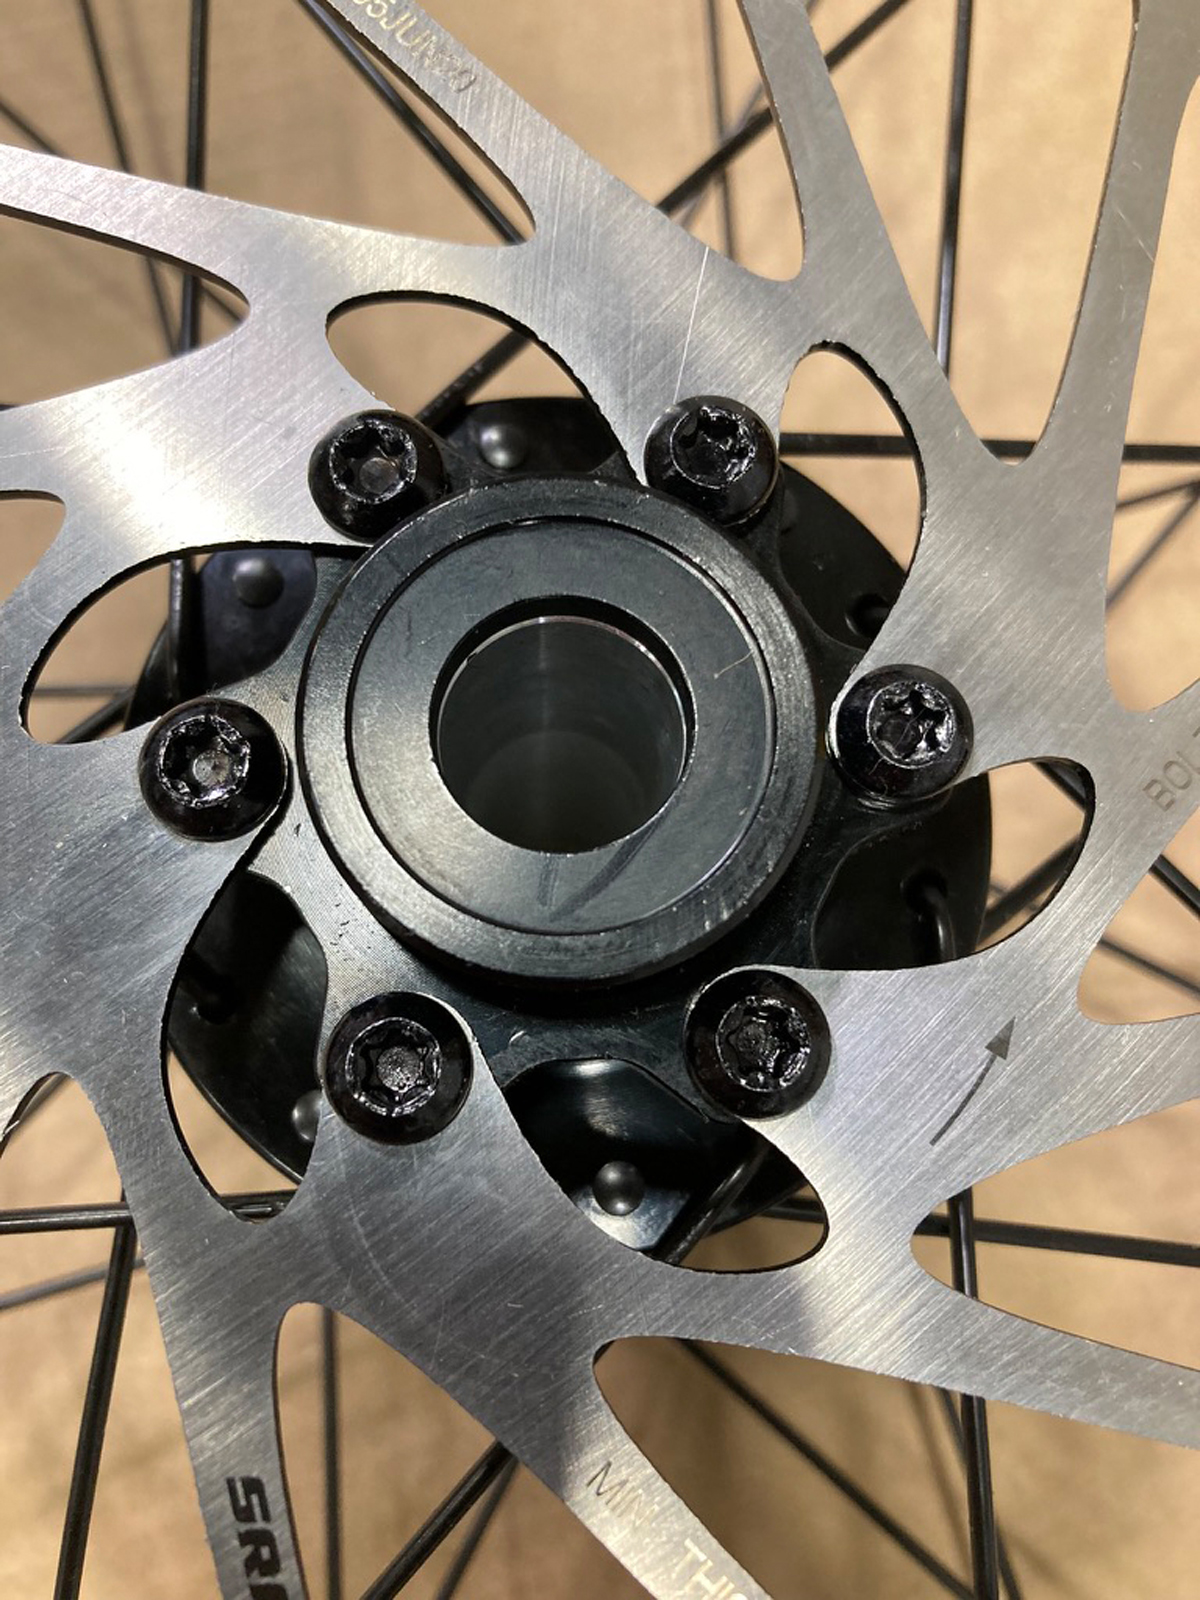
After carefully starting the 6 small bolts, tighten them in a cross pattern to the specified torque range, usually about 6-7 newton-meters. Center-lock rotors can be installed in any rotational position on the splines, there is no index. Once the lock-ring is threaded, tighten it to 40 newton-meters. If you don’t have a torque wrench for this, it’s ok. It’s darn tight and difficult to over tighten. The standard conversion of 40 newton-meters is equivalent to approximately 30 foot-lbs. So, imagine applying 30 lbs. of force to a 12-inch lever (wrench).
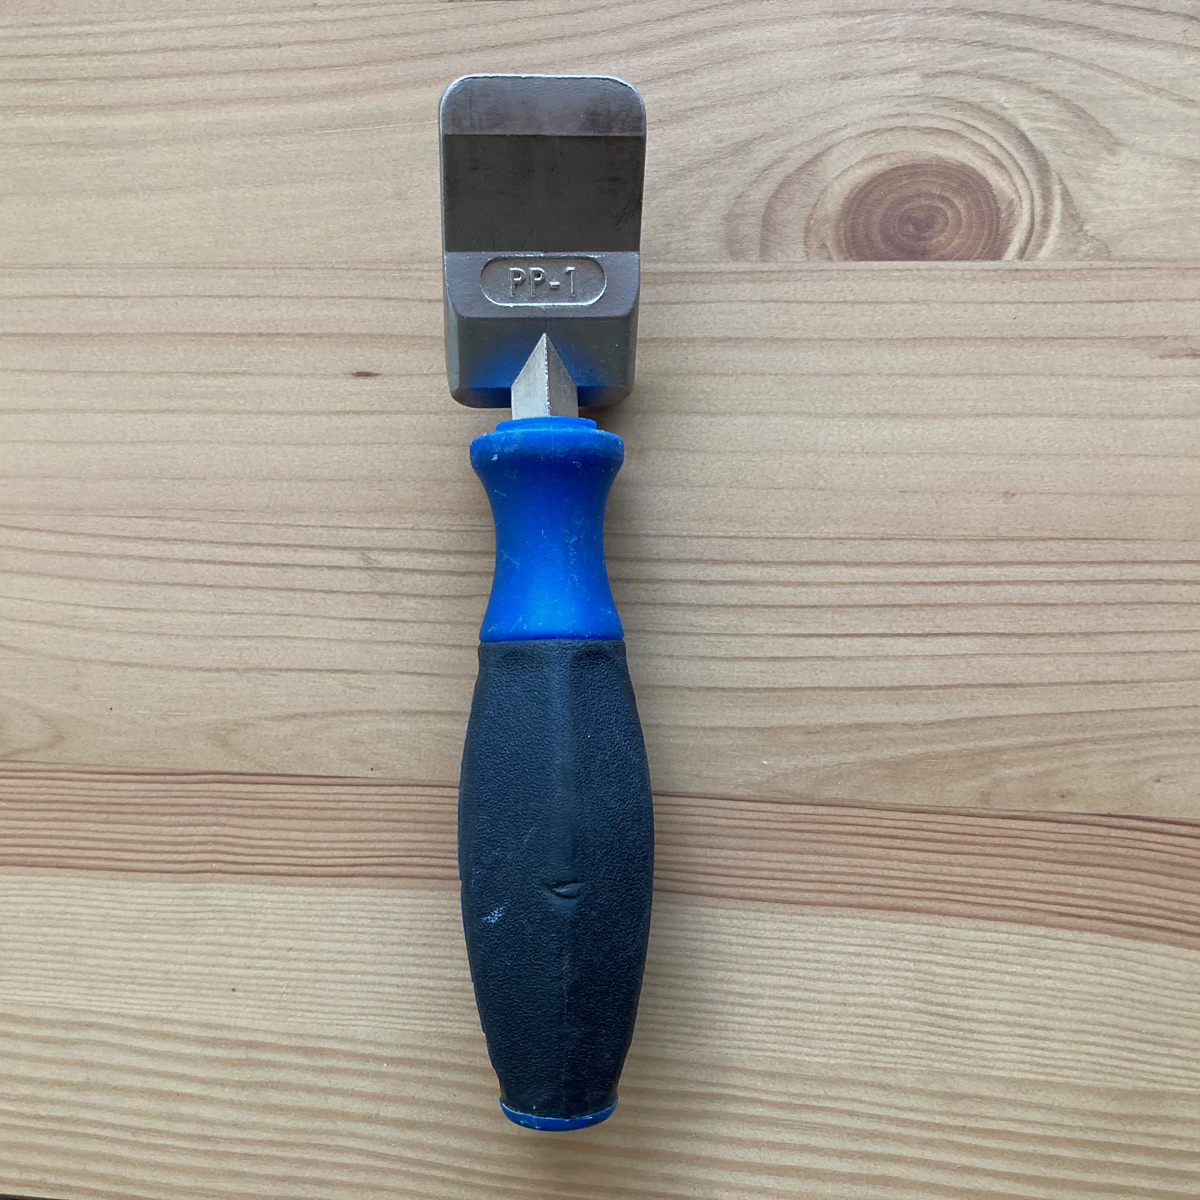
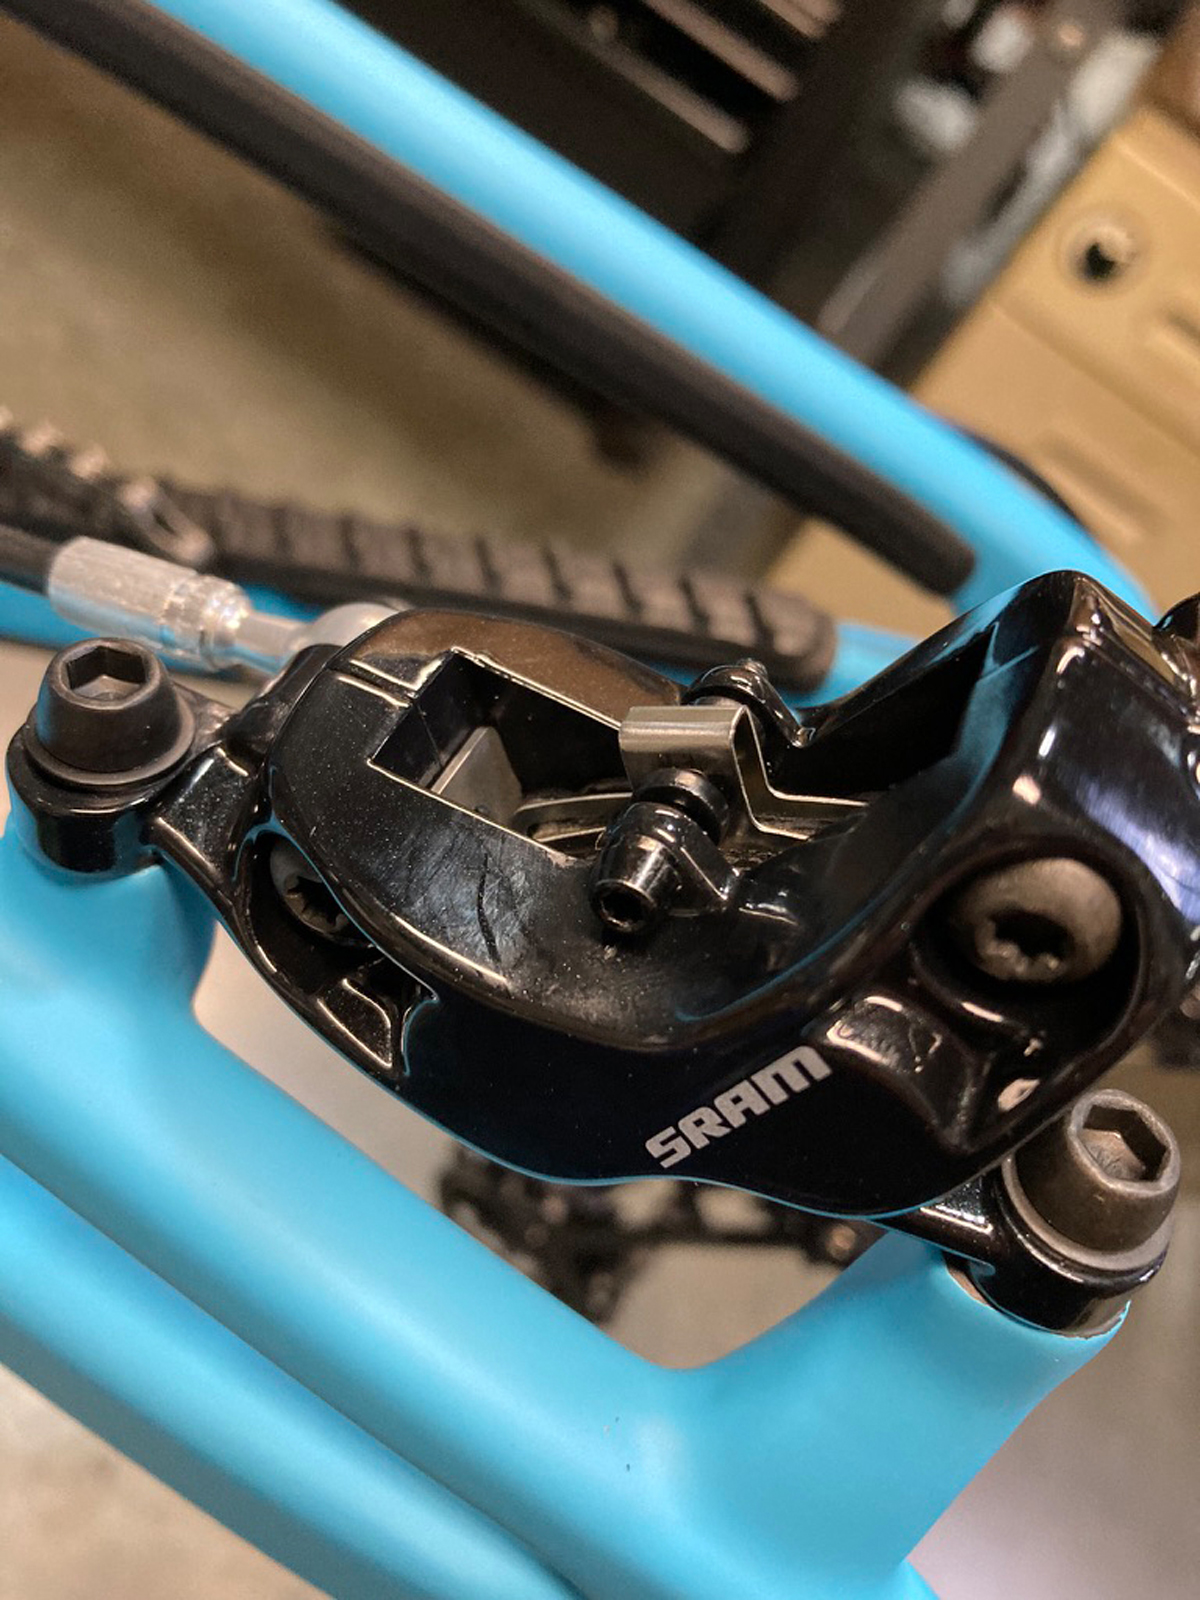
Replacing the brake pads is almost as easy as replacing the rotors. While the wheels are out of the frame, first press the old pads and pistons into the caliper using the Park Tool PP-1 or something similar. This will ensure there is enough clearance for the new pads when the wheels are reinserted. Next, remove the brake pad retaining safety clip. With the appropriate hex wrench or screwdriver, remove the brake pad retaining pin. The brake pads can now be removed by grasping the pad tabs and pulling upward and out. Inspect the back of the pads for signs of oil. Wet backing plates are a sign of leaky piston seals. Some brakes have replaceable seals (read: seals are available) but if it’s one of the two big brands, the brake caliper will need to be replaced.
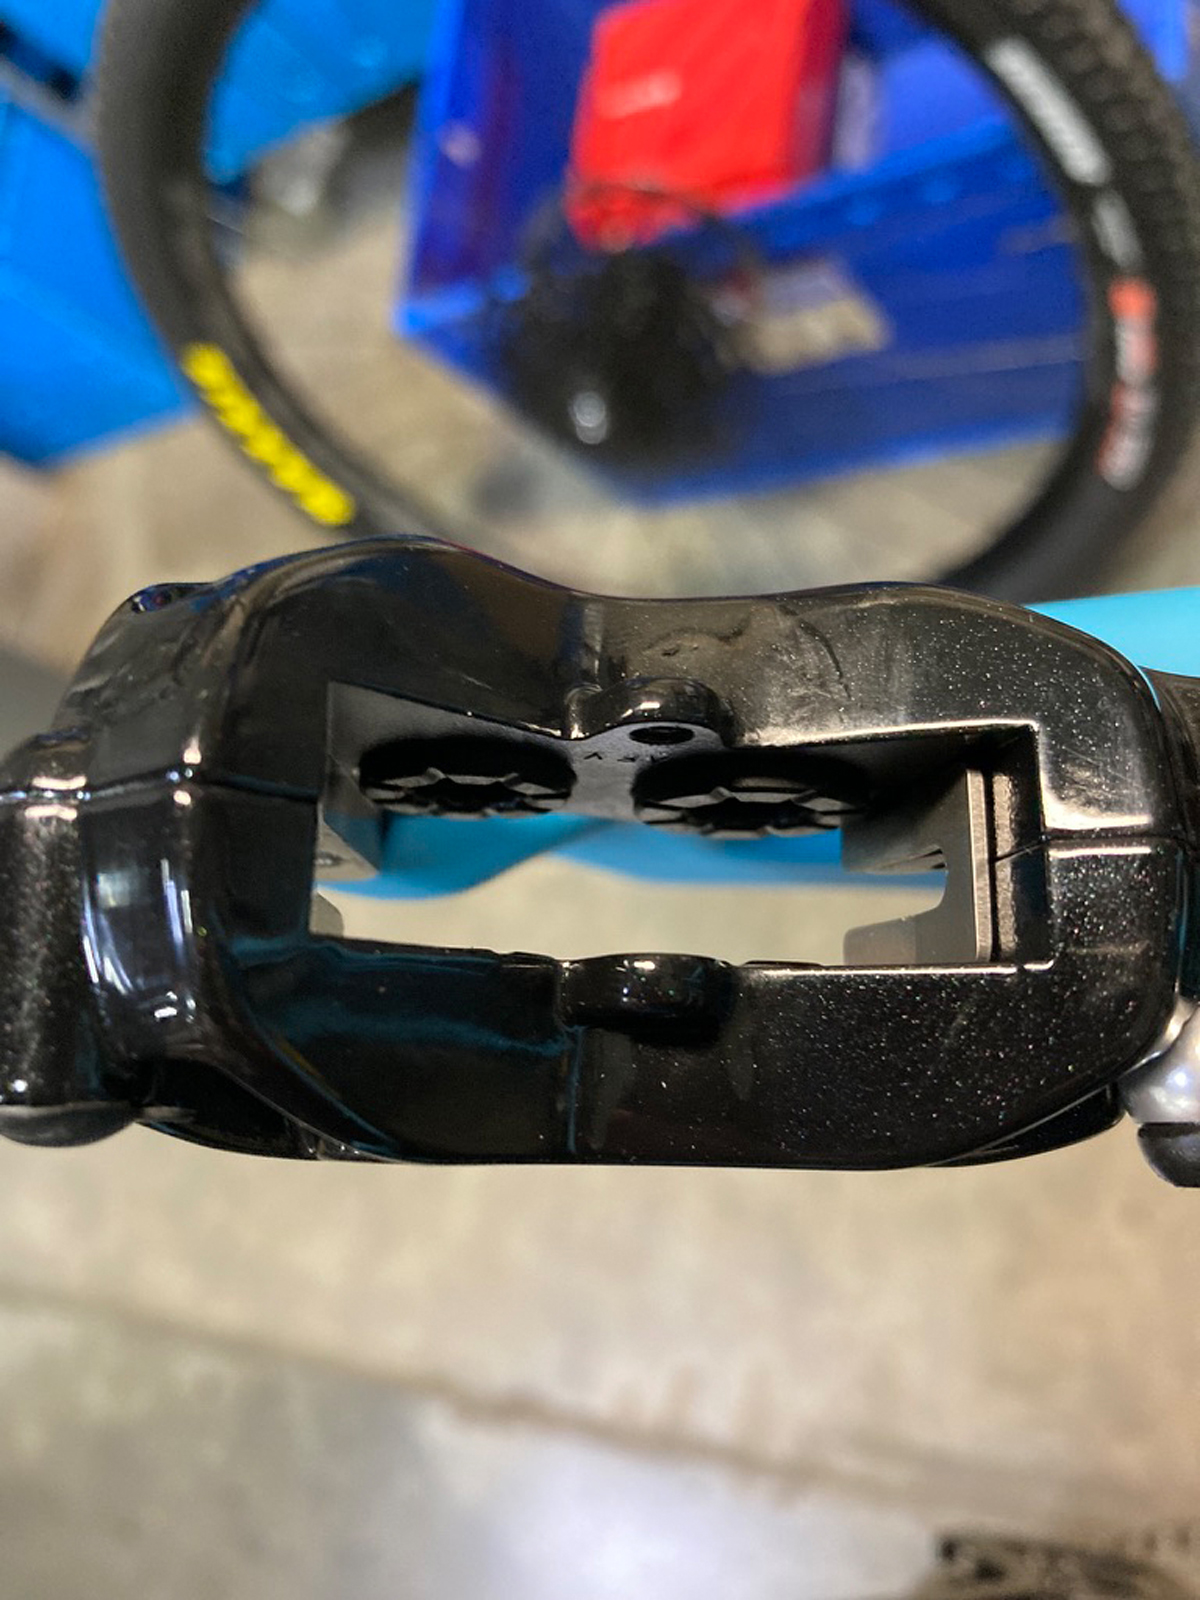
While the pads are out, take a minute to clean inside the caliper with a clean, dry rag or cotton swabs. I have seen some videos that recommend lubricating the piston seals with brake fluid and then cleaning them off with isopropyl alcohol. I do not recommend this. Brake pads and brake fluid don’t mix well and placing one near the other voluntarily or otherwise is a recipe for disaster.
With clean hands, align the new brake pads on the spring and insert them into the caliper. Insert the pin and tighten carefully. Install the safety clip. Mount the wheels and tighten the axles to the proper torque. Tip: when tightening the axles, apply pressure under the wheels as if the bike were on the ground to ensure consistent alignment of, well, everything.
Actuate the brakes a couple times and spin the wheels to check the alignment of the calipers. If there is contact between the rotor and brake pads, align the caliper by slowly loosening the mounting bolts and gently adjusting the caliper until there is no contact. Be patient. This can be an excruciatingly frustrating process. When complete, remember to torque the caliper mounting bolts. I’ve seen this forgotten more than once.
Don’t stop reading, there’s one more thing. New rotors need to be “bed in” with new brake pads. This process applies a layer of brake pad material into the surface of the rotor in order to have powerful brakes. To bed in the brakes accelerate to approximately 10-15 mph. Firmly apply the brakes to slow nearly to a stop. Do not come to a complete stop and hold the brake on. This will imprint a spot of brake pad material. Perform this several times being careful not to overheat the rotor. By the third or fourth time the brakes should be feeling stronger. Five times is probably enough.
Replacing the brake pads and rotors was just what my bike needed. Their stopping power was back to full-strength, and I was able to readjust my levers back to the way I like them. Coincidentally, as I was preparing to write this article, the website PinkBike started a series “Brake Tips from World Cup Mechanics”. I waited anxiously for each installment, hoping to learn something amazing. At the same time, I was let down and relieved. There were no exotic tricks (that they would tell anyway). Keeping it simple was the way I read it. Replace brake pads and rotors at the same time. Use the correct parts (don’t mix and match). Protect your pads and rotors from contamination. Simply put, pretty much everything we’ve done here.t