By Lou Melini — The following products have been used by me since early this year and on my recent Mickelson Trail bikepacking tour. I was able to obtain discounted prices for the products through my volunteer work at the Bicycle Collective or through my son at Storm Cycles. The discounts were nice and there was no expectation of bias in reviewing the products.
[Editor’s note: See part 1 of this article.]
Thermarest NeoAir XLite NXT Sleeping Pad
I have used Thermarest products for over 20 years. Closed cell
Ridgerest and Z-lite pads, full size self-inflating pads with the original brass inflating portal, and light-weight partial-length self-inflating pads were what Julie and I used until 2016. For our 2016 Appalachian Trail hike we used 8-ounce NeoAir Xlite pads, the kind that do not self-inflate. We went with the short size as Thermarest was out of stock of the regular size. We “lengthened” the sleeping pad by putting our sit-pads under our lower legs. Julie and I both liked the XLite pads.
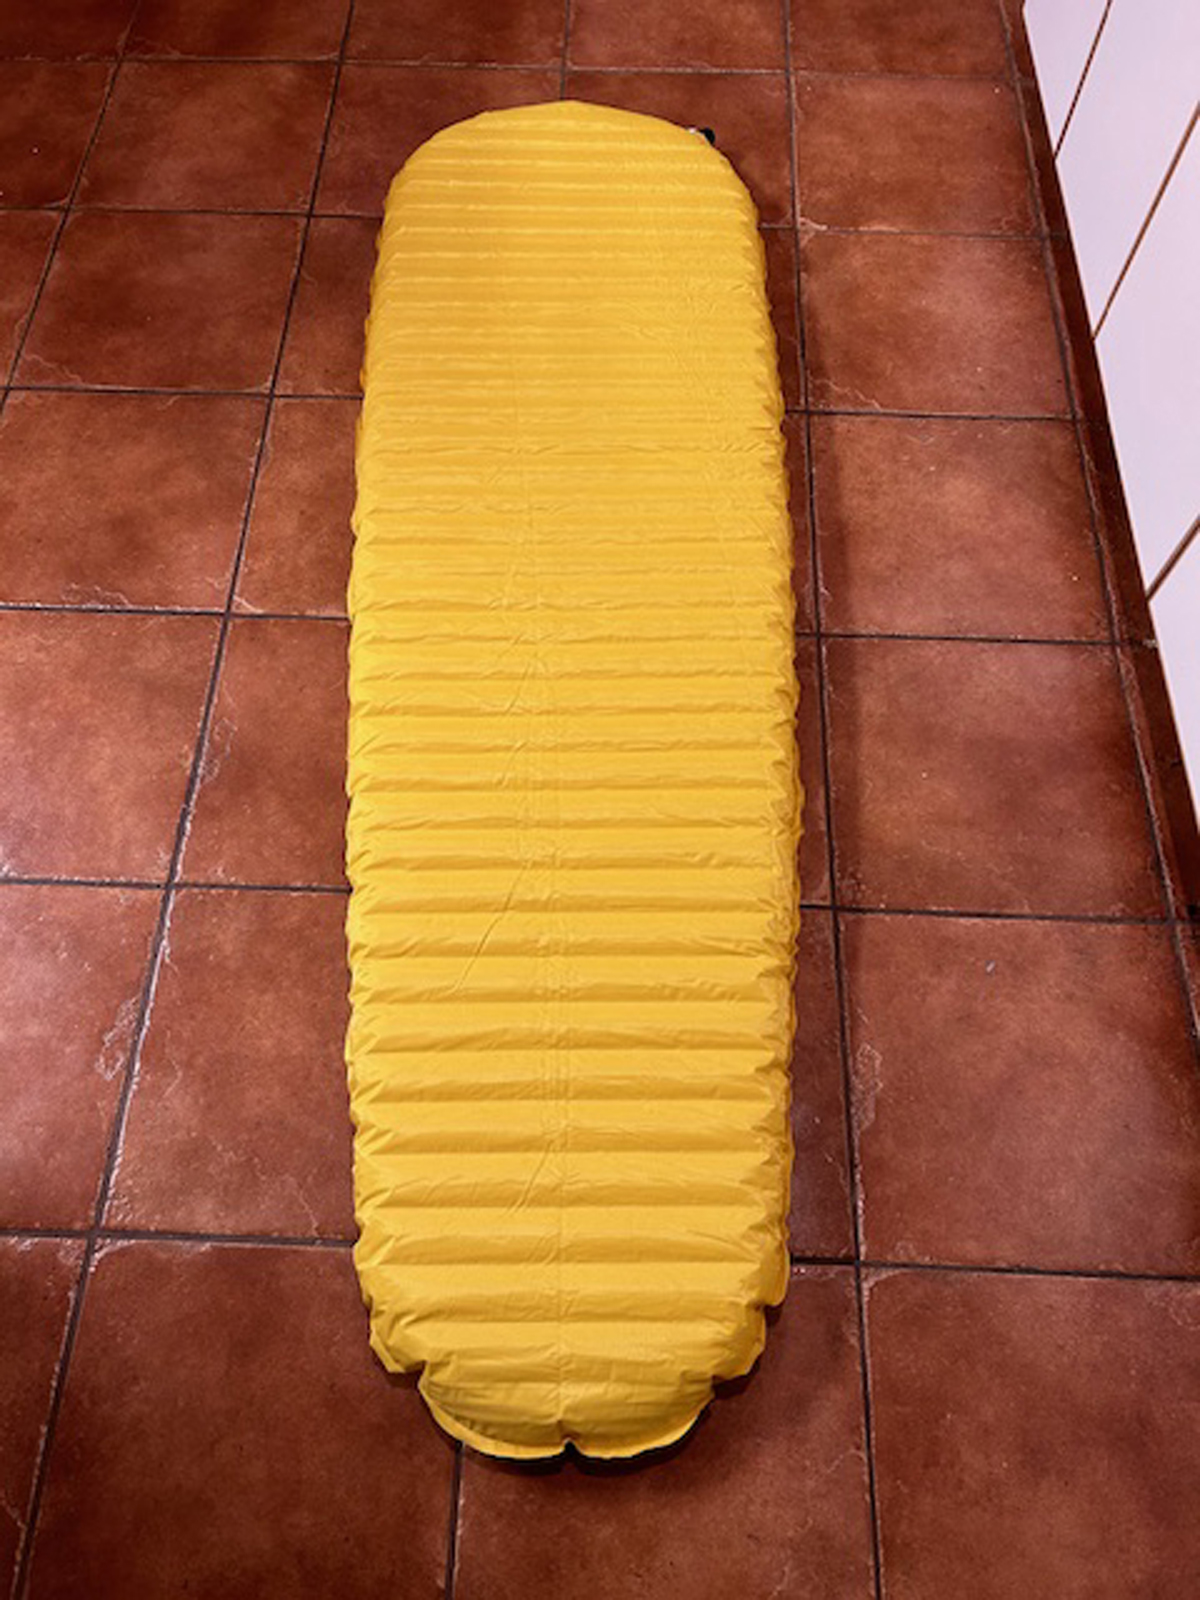
Most of my pads have been sent back and in return I received new pads per Thermarest warranty. I recently sent back a NeoAir pad. For the warranty product, I received the new NeoAir XLite NXT pad. I used the NXT pad for the Caribou trail ride. Compared to the NeoAir XLite, the new pad is 3.5 ounces heavier. For that weight increase I have a pad that is 19 inches longer (listed as Regular small), a half inch thicker and an R-value of 4.5 vs 3.2 (putting it into the 4-season range). Simply stated, the pad is noticeably more comfortable than other pads I have used in the Thermarest line. When packed, I measured the XLite at 7 X 24 inches and the NXT at 9 X 22. My only knock is the “inflator” that comes with the NXT pad. We found that it simply was cumbersome to use and took too long. We blew air directly in to inflate the pad. In my mind, there is no reason not to take the NXT pad on any trips Julie and I do. My current stock of sleeping pads may go to the grandkids.
BearVault Food Canisters
For this trip there was an additional variable to consider when packing-bear country. It was highly recommended that we pack our food in bear resistant canisters. We needed 3 days of food before we could resupply so Julie and I each used the BearVault BV425 food canister. The 425 is one of 2 new sizes introduced by BearVault in 2022. The 425 is the smallest canister in the BearVault line at 305 cu. Inches (5 liters). It holds enough food and other “smellables” for 1-2 days. (generally, 100 cu. Inches is a day’s worth of food without additional smellables). We carried most of the first day of food in odor-proof bags.
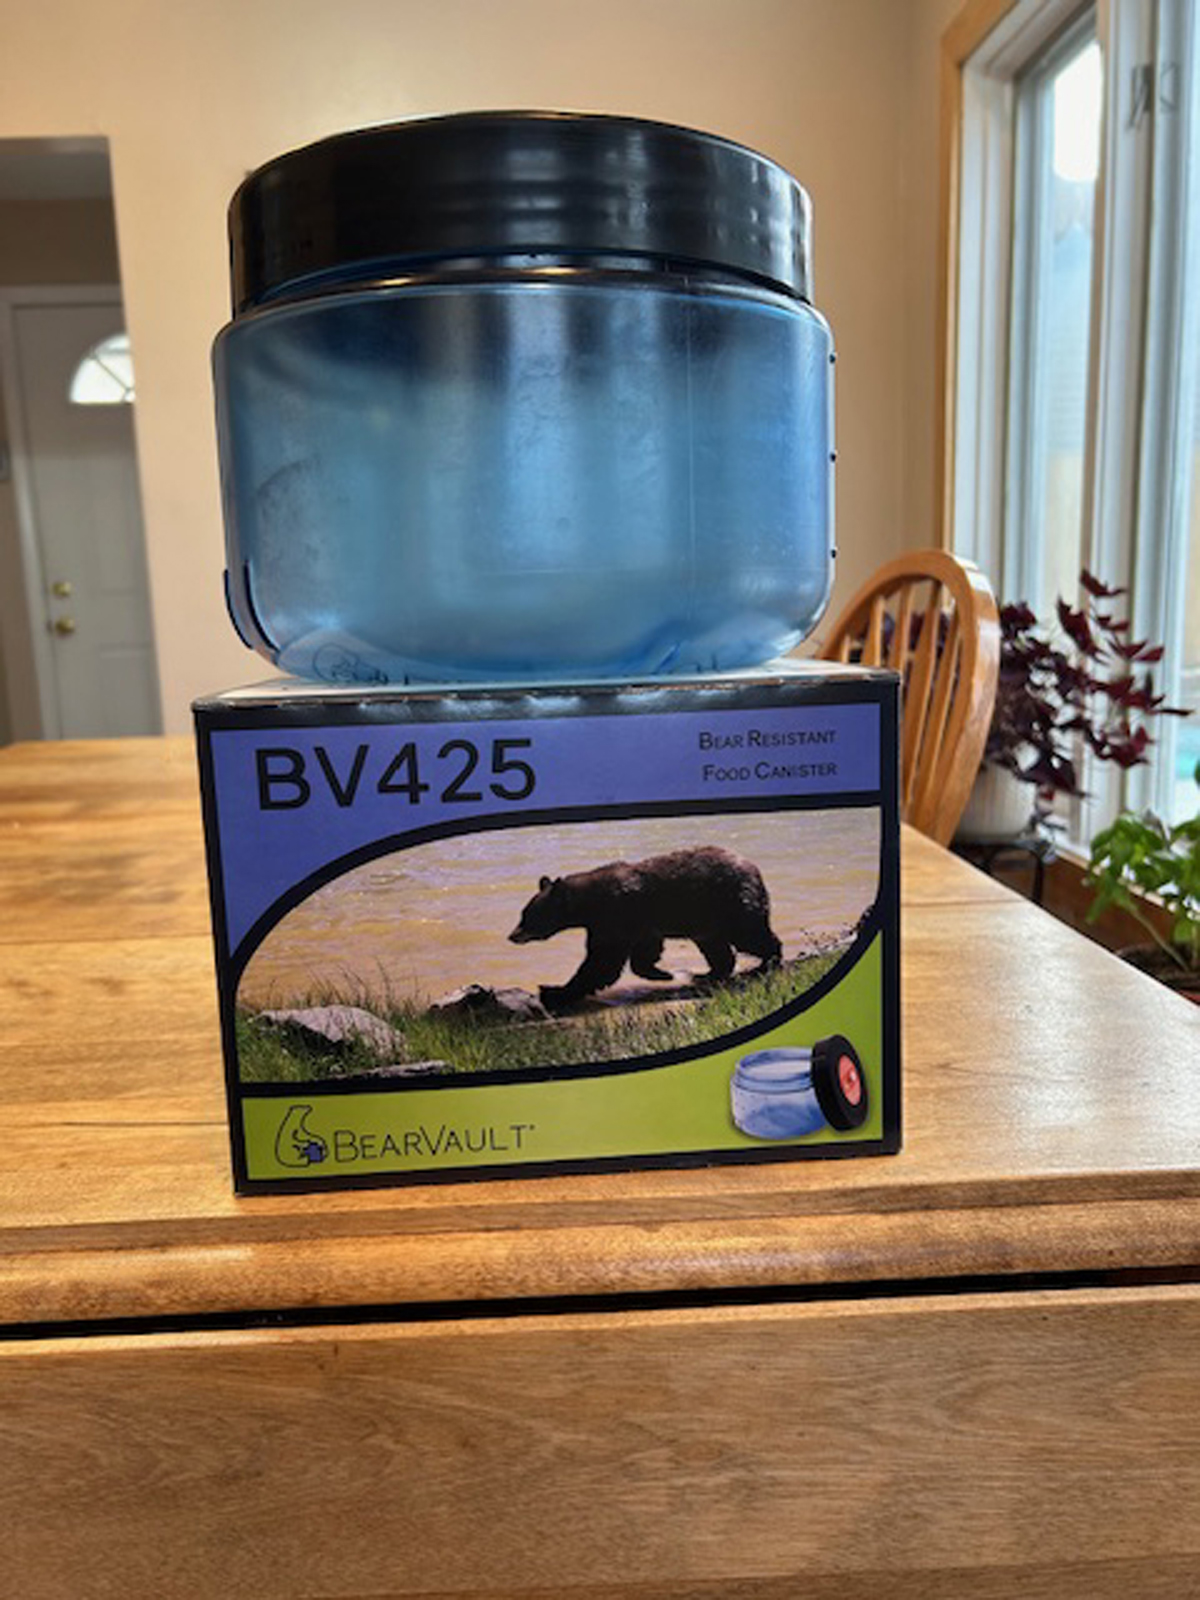
I’m not convinced that riding the Caribou Loop Trail is a risk for bear activity but it is hard to ignore advice from a good source. One local hunter claimed he saw a grizzly last fall during an elk hunt. The BV425 was a tight fit for the small pannier I planned on using. However, it fit easily into my larger 40-liter pannier. This complicated the bike bag choices and packing for the ride.
Bikepacking Bags
Because we used large panniers on a rear rack to accommodate the bear canister for 3 days of food, I did not use the behind-the-saddle bag as I did on the Mickelson Trail. I am frustrated by the size and near useless small cylindrical fork bags. The handlebar bag carried our tent on this trip and worked well for that.
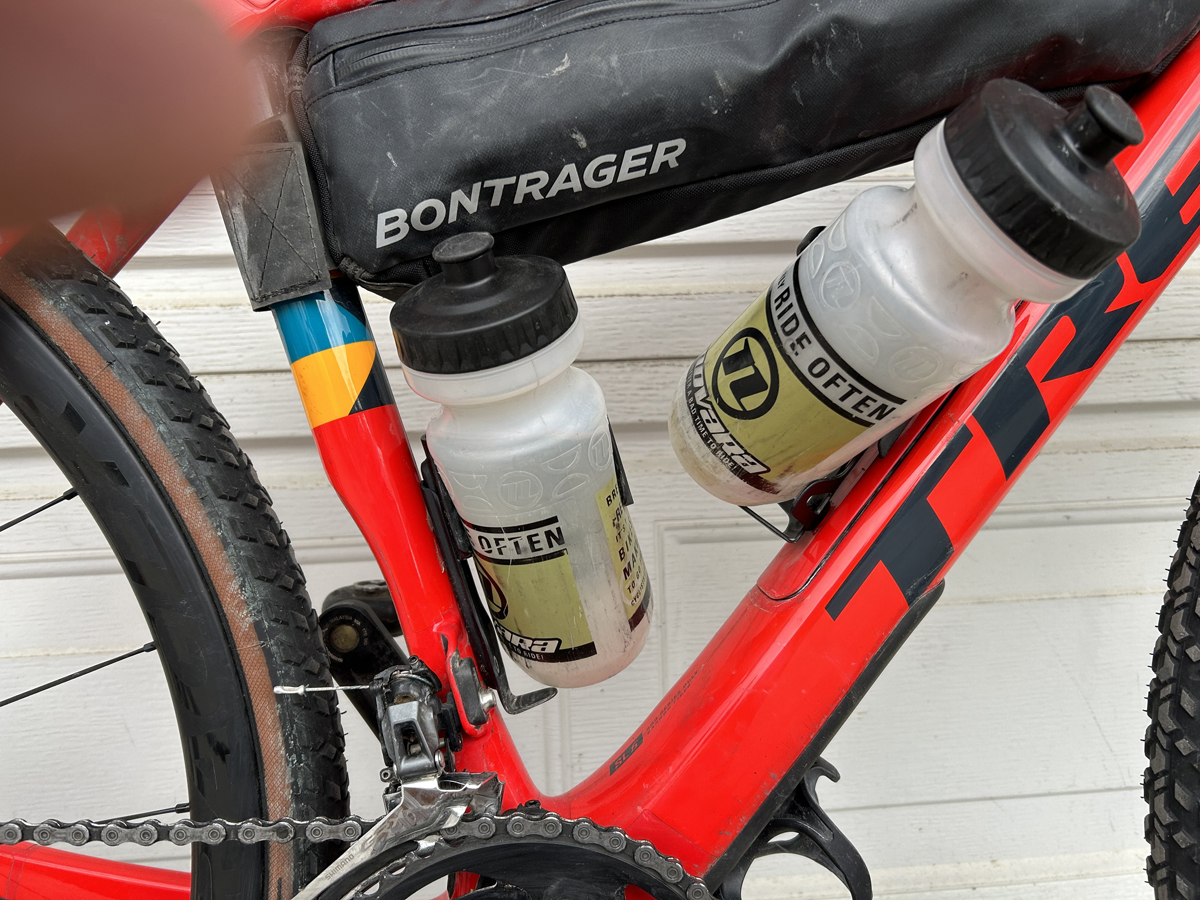
Side-entry Water Bottle Cages
I bought the Salsa side-entry cage on a whim. With our small framed bikes (49 and 52 cm) placing a conventional water bottle into and out of a cage was annoying with the under-the-top-tube bag. One of my conventional water bottle cages broke before out trip prompting my purchase. I purchased one cage for me and one for Julie’s bike. I really like the improved ease of bottle insertion into and out of the cage. Julie’s learning curve from old habits took longer but she appreciated the change. The bottles held snugly. I used Salsa cages. I recently bought a 2nd one for my bike from Planet Bike that works as well.
Pirelli Cinturato Gravel Tires
More than a decade ago I reviewed tires for road touring. Speed (rolling resistance), grip (stability), protection from flats and durability were the variables I used in that article. The Schwalbe Marathon Supreme (700 X 35C) has been my favorite tire for road touring for more than a decade.
For gravel riding there are new variables to consider, tubeless set up being one. Secondarily grip (stability) on gravel roads with their myriad of surface presents a lot of discussions on tire width, pressure and tread pattern. Coming up with an Ideal tire will be near impossible. Repeated switching of tubeless tires for different surfaces is time consuming with the added angst of worry about the tire sealing properly. Buying extra wheels with tires mounted for different conditions is great for the professionals but expensive for the rest of us.
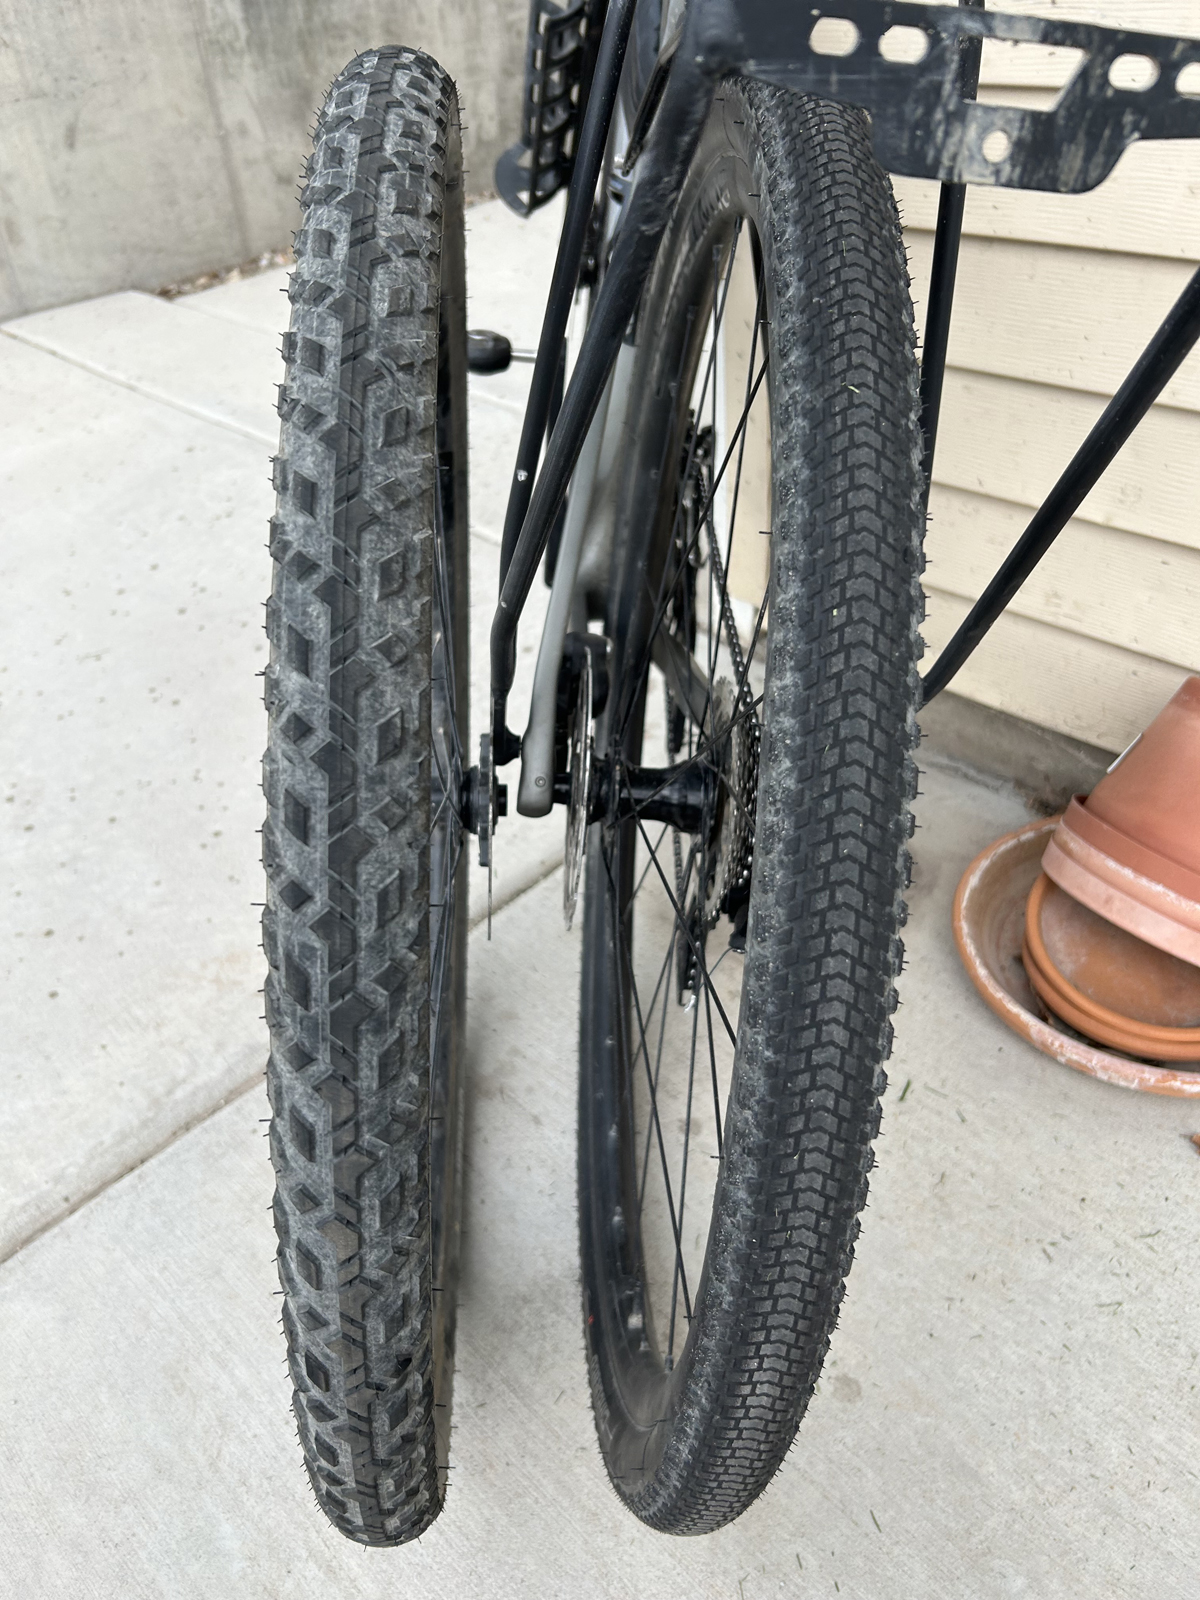
For the Caribou Loop Trail I put Pirelli tires on our bikes (tubeless set-up) on the suggestion of my son Ben at Storm Cycles. I wanted to maximize Julie’s sense of stability on this more challenging tour compared to our tame introduction to gravel on the Mickelson (rail) Trail. The stock tires that came with our bike I felt were not adequate. I had to throw one stock tire out after losing pressure a few times.
Pirelli makes Cinturato tires in S, M, and H models designed for loose/soft surface (S), mixed surface (M) and hard surface (H). I used the M models, 40 mm for me and 45mm for Julie for the all-around capability. However, the tread pattern of the Pirelli tires is inconsistent. I’ve had deeper and more wide spaced tread on tires labeled as H and M as well as a less deep and closely spaced tread pattern on one H tire.
Our experience with the tires was very good, though the experience could have been good with similar tires from other companies. Julie rode with confidence on the roads and that was wonderful news for me. On day two Julie lost sealant from both tires, but both held their pressure. (a continuation of her track record of bad luck on our trips) On the morning of day 3 her tire was at zero pressure. I used a CO2 canister to put the tire back at 35 psi. She needed one topping off of air a few days later. The tires were stable going through loose rock, albeit at a purposeful slower pace. I have no complaints about the tires and I have little comparison from other brands so that is the review.
Clothing
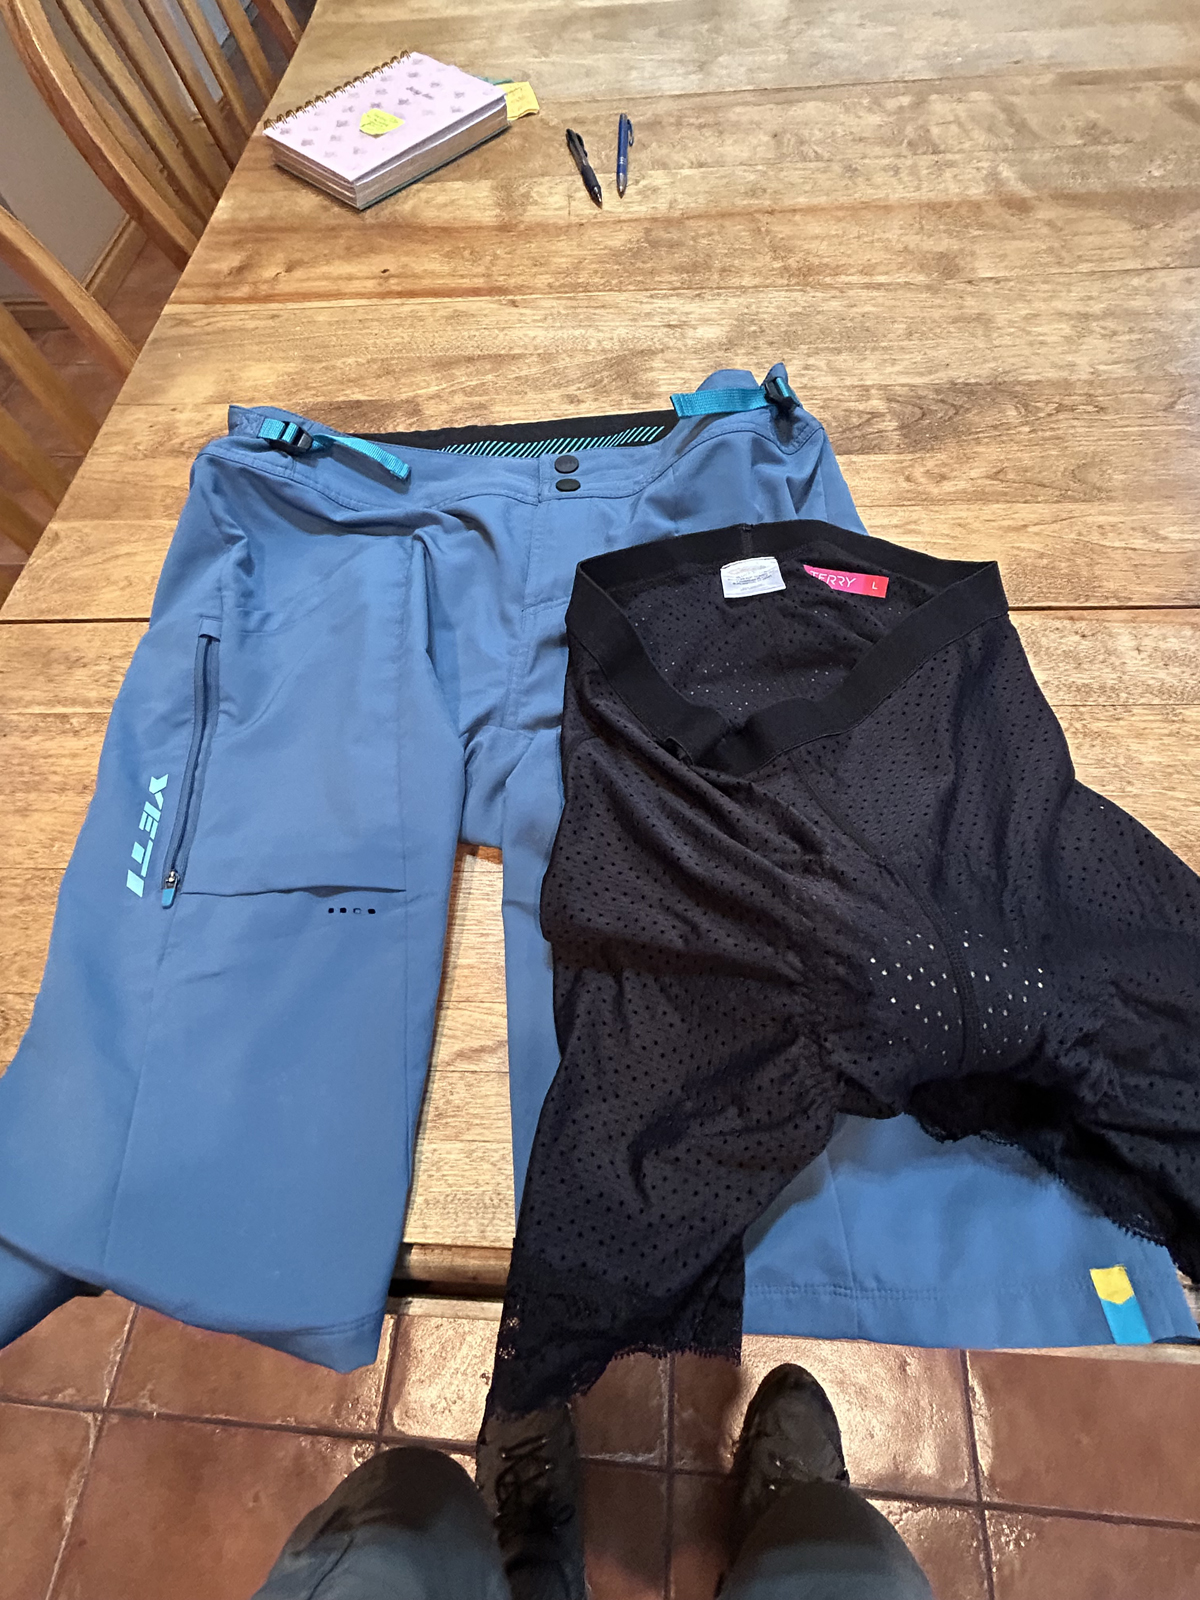
In my Michelson Trail article, I forgot to mention that Julie really likes her padded briefs by branded Terry. She wears them under Yeti shorts, a combination that has become her favorite bike travel outfit.
Disclaimer
I will again mention that except for the BearVault and Thermarest products I was able to purchase the other items reviewed at a discount through my volunteer work at the Bicycle Collective or through my son at Storm Cycles in Park City. There was no contract or implied exchanges to do reviews of the products mentioned.
Lou Melini is a lifelong bicycle commuter, tourer, and the former Commuter Column editor for Cycling West.