By Cole Taylor – You don’t need a lot of money to go bikepacking.
As the once-overlooked sport has become more mainstream, many people have forgotten this. We ogle high-res photos of professionals on carbon Salsas and decked-out Surlys as they take on remote, exotic terrain. The internet bombards us with ads for frame bags, trail gizmos, and ultralight camping gear. Price tags surround us everywhere we look. Sometimes I have to remind myself to take a breath and ignore the hype for a moment. I think we mountain bikers (maybe cyclists in general) often spend too much time spitting brand names and comparing our bikes’ specs and not enough appreciating the sport itself. Bikepacking, especially, is becoming drowned in a swamp of commercialism. This trend worries me, so recently, I set out on a ride to remind myself, and hopefully some others, that it doesn’t matter if the bike is steel, aluminum, titanium or carbon- what matters is the journey you complete on it.
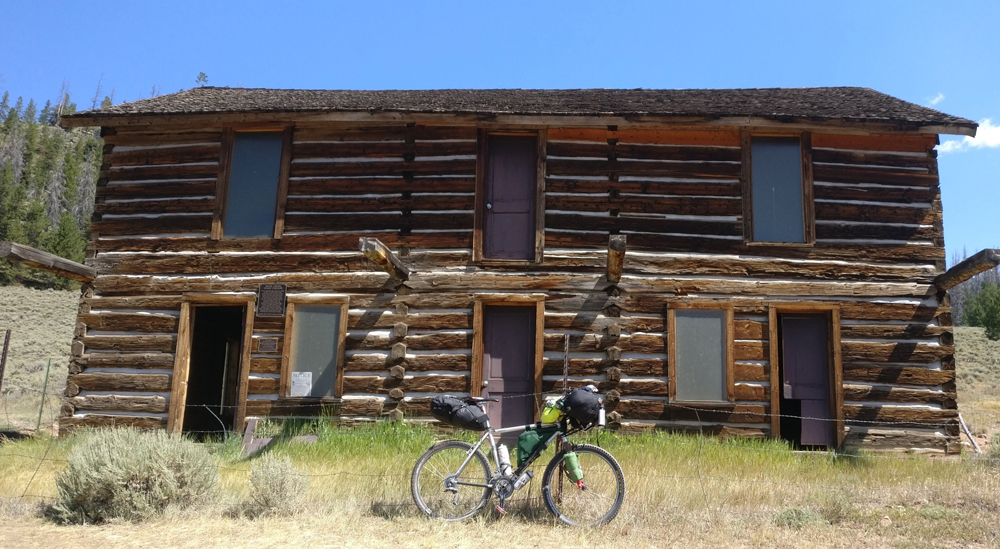
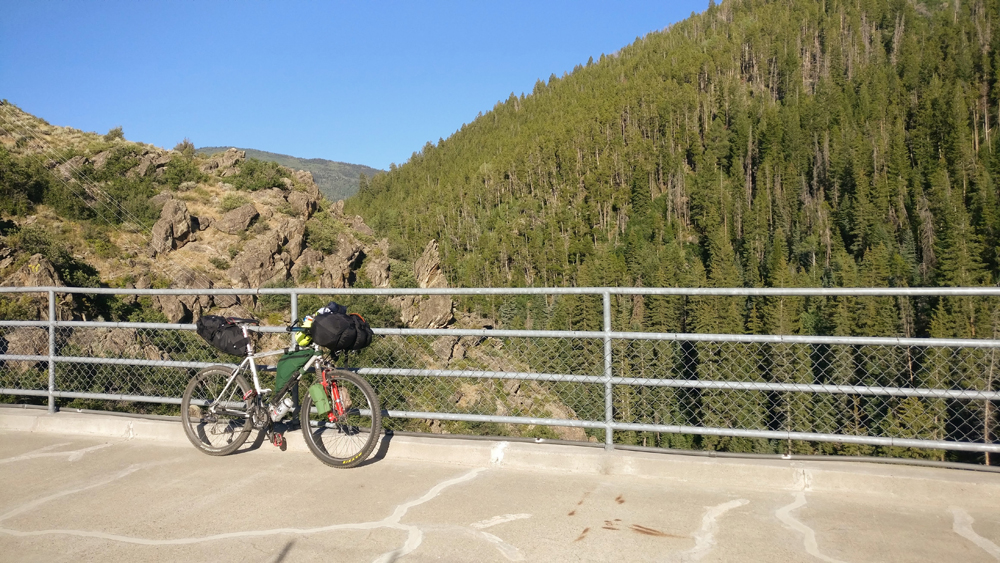
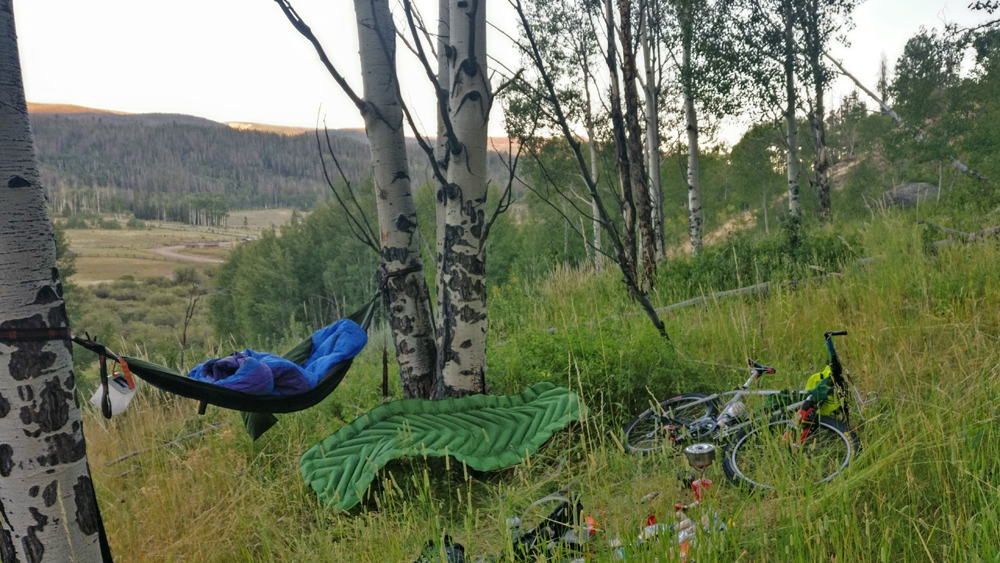
I decided to do a four-day solo adventure following the Colorado section of the Great Divide Mountain Bike Route. It would have been nice to have a dedicated bikepacking rig, but I found that my commuter bike (a 90s Gary Fisher built from used parts) worked just fine. The only bikepacking bag I have ever purchased is a seat bag made by Giant, which retails for $70 (more basic than most others on the market, but it’s worked just fine for me). Besides that, I used a homemade frame bag, a backpack, a small handlebar bag that I found for free, and a lot of straps and hose clamps. The result was a dependable, solid rig that I wasn’t afraid to scratch, ding, or jury rig.This being a solo trip, I needed extra safety precautions. I rented a DeLorme InReach from a local who charges only $30 a week (this is a seriously good deal compared to rental companies or buying one new). This device allowed me to check in daily with my family over satellite text and provided an emergency beacon feature. I carried the DeLorme as well as a cylinder of bear spray ($45) on my person at all times, and I felt very safe. For a total of $75, these items were well worth the cost. I slept in a hammock every night, which worked fine in this forested area and saved weight and money compared to a tent.
My trip began in Steamboat Springs, which was a good place to grab some last-minute supplies. There were three bike shops to choose from and the one I picked, Orange Peel Cycles, had good service and friendly people (plus, it was housed inside of a decades-old kiln. How cool is that?). On the first day my goal was simply to go as far as possible without pushing myself too hard. By following this guideline each day and not having predetermined campsites, I was able to figure out how many miles I could anticipate if I were to do the whole Great Divide in the future. Of course, I still researched potential camping spots beforehand. By the end of day one, I had covered only 42 miles (mostly gravel with about 15 on road), but that was fine by me as I had just reached National Forest and could camp in the woods. I set up my hammock and slept comfortably with my bear spray and InReach at my side.
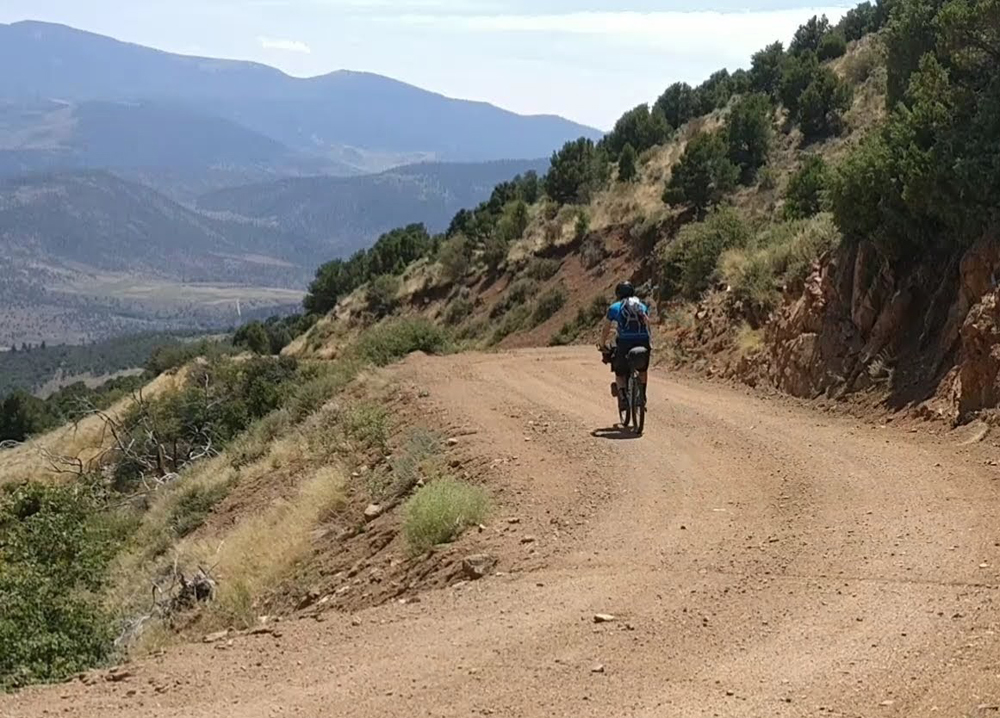
By the next morning, I was energized and ready for a long day in the saddle. I departed my camp at 9:00. As it turned out, this would be the worst day of the trip. First, my drive side crank started clicking slightly on each revolution. Upon inspection I quickly realized that I couldn’t fix it without replacing the whole crank arm, which of course was not an option. It didn’t slow me down or endanger me, but I had to slowly learn to tune out the clicking of the spindle as I ground my way up a large mountain pass. Later, I made the frustratingly amateur mistake of crossing a stream with my shoes and socks on. This forced me to stop for 45 minutes while I waited for my insoles to dry out in the sun. After that, all seemed to be going well at last — the scenery was gorgeous and the road wound downhill for miles and miles, all the way to the Colorado River. It was after that that I faced my final challenge: the climb out. I learned a good lesson here, so it deserves its own paragraph.
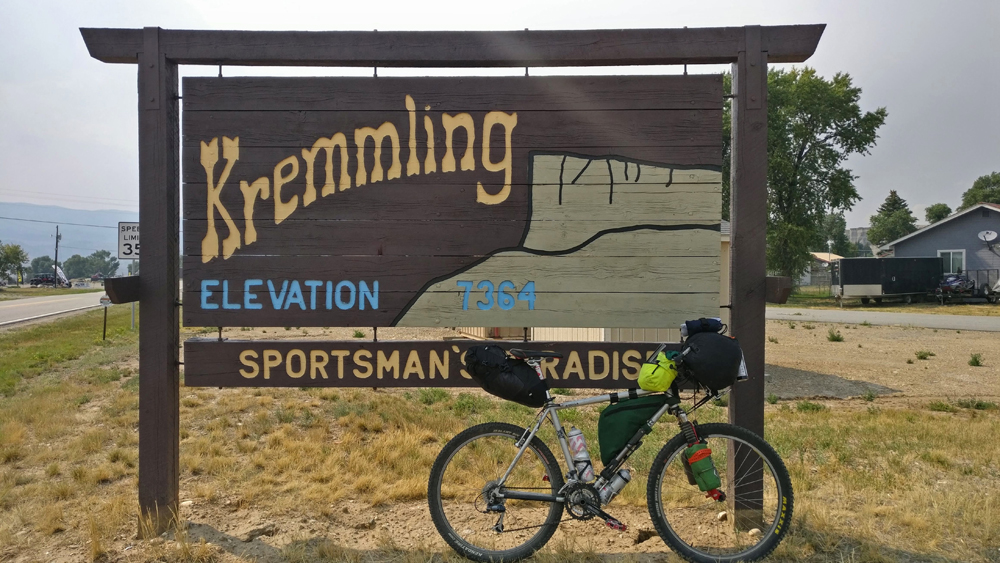
The road was wide, straight, and stretched out in front of me as far as I could see. One thing that I noticed throughout the trip, but especially here, was that when cars were passing me, I felt like I was going slower than I actually was. Halfway through the climb my water ran dry and my morale took a serious blow. However, this was a blessing in disguise because it forced me to adopt a different mindset. I started taking it slower, keeping a higher cadence, and focusing on the view instead of staring at my front tire. I became more patient; I got rid of my “Just get to this next turn” mindset and stopped pushing myself too hard. I discovered that this newfound attitude made me more consistent and resilient, plus I enjoyed the ride a lot more. Soon the climb was over and I coasted down a gravel road into the tiny town of Kremmling.
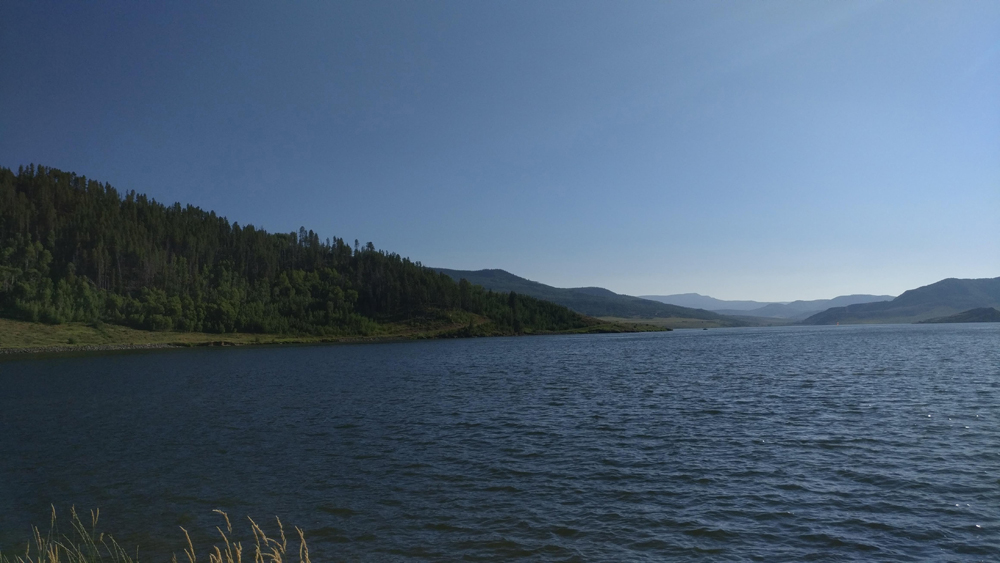
The sun was setting, and I had a long way to go until the next possible campsite. I decided to take a shortcut by going south on Highway 9. This way, I could stay in a campground next to Green Mountain Reservoir and restock in the town of Heeney, and I could still follow the official route on my way back to Kremmling. As I pulled into a campsite near the lake and started cooking dinner, I began to listen to the laughter and faint talking in the sites adjacent. Combined with the fatigue of a 77-mile day, this made me feel rather alone.
Going solo was definitely an interesting aspect of this trip. As I sat at my table eating dinner, I realized that I’d never gone so long in my life without talking to somebody. Of course, there were obvious benefits to being on my own: coordinating the trip was easier, and I was able to go at my own pace for the entire ride. It also felt liberating and boosted my confidence to complete a multi-day trip on my own. As I sat there on that second evening, however, I would have given a lot to have a companion to talk to. I wanted someone who had been through the highs and lows of the day with me, someone who I could pass the time with, complaining and reminiscing together. I’m still not sure how long I could live with this kind of solitude.
I slept in the next morning and left the campsite at eleven. The third day out of four was straightforward and held few surprises. I got back onto the official route and followed it into Silverthorne. From there it was nothing but forested, paved bike paths all the way up to Breckenridge and back. I camped in Frisco, which is very close to Silverthorne and contains a variety of beautiful campsites near Dillon Reservoir. Total distance was 61 miles, all paved. Sweet.
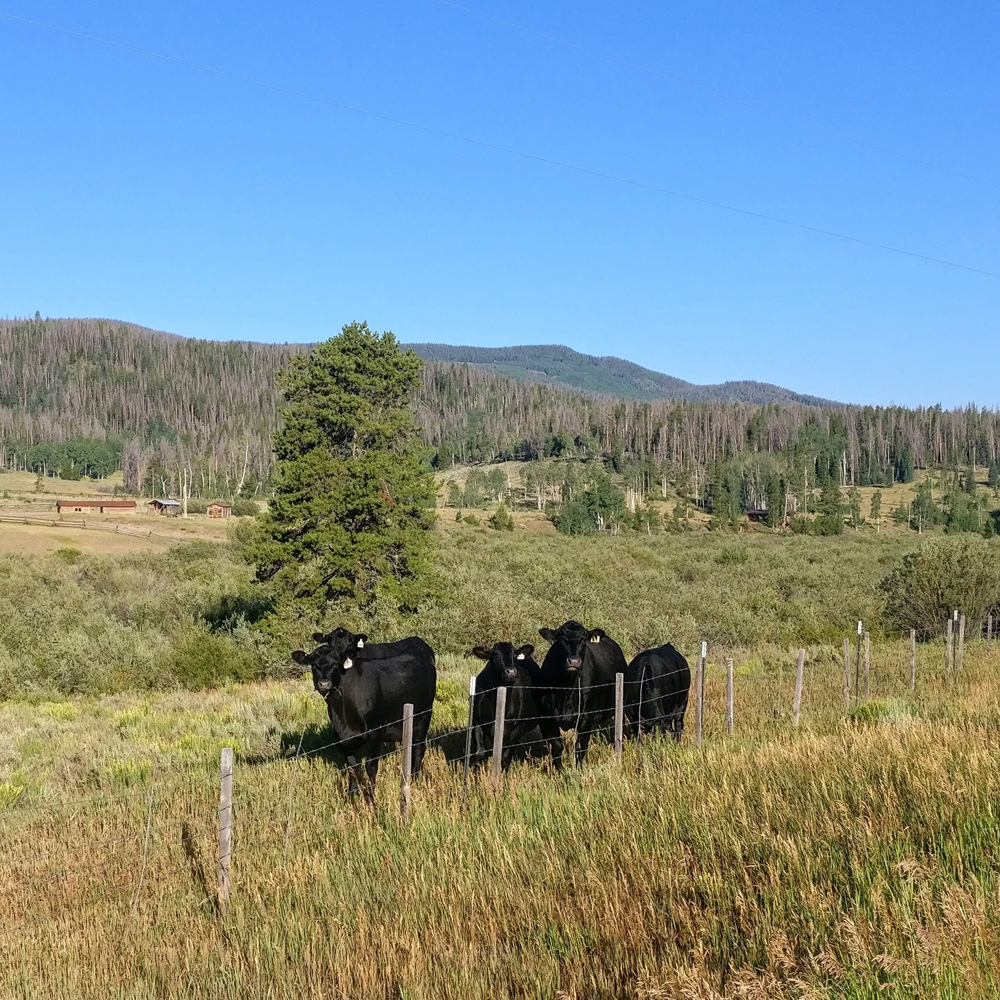
Day four! The finale! 51 miles to go. My morale had gone up thanks to the pleasant ride the day before. I hit the road soon after the sun rose and blasted out of Silverthorne on my no-longer-food-laden bike. I followed the proper route north on Highway 9, then east on Ute Pass road. Oh dear. A group of roadies. That’s when you know you’re in for a good climb. I chugged up the pass, then stopped at the top to enjoy the view of an enormous molybdenum mine and its respective plains of slag. Woo! From there it was mostly downhill on gravel to get to Kremmling. There’s not much of interest to note, unless you’re particularly fond of hay bales and ranch houses stretching out for miles. I met my getaway vehicle at a gas station in town and just like that, it was over. Four days, 230 miles, and a lot of experience gained.
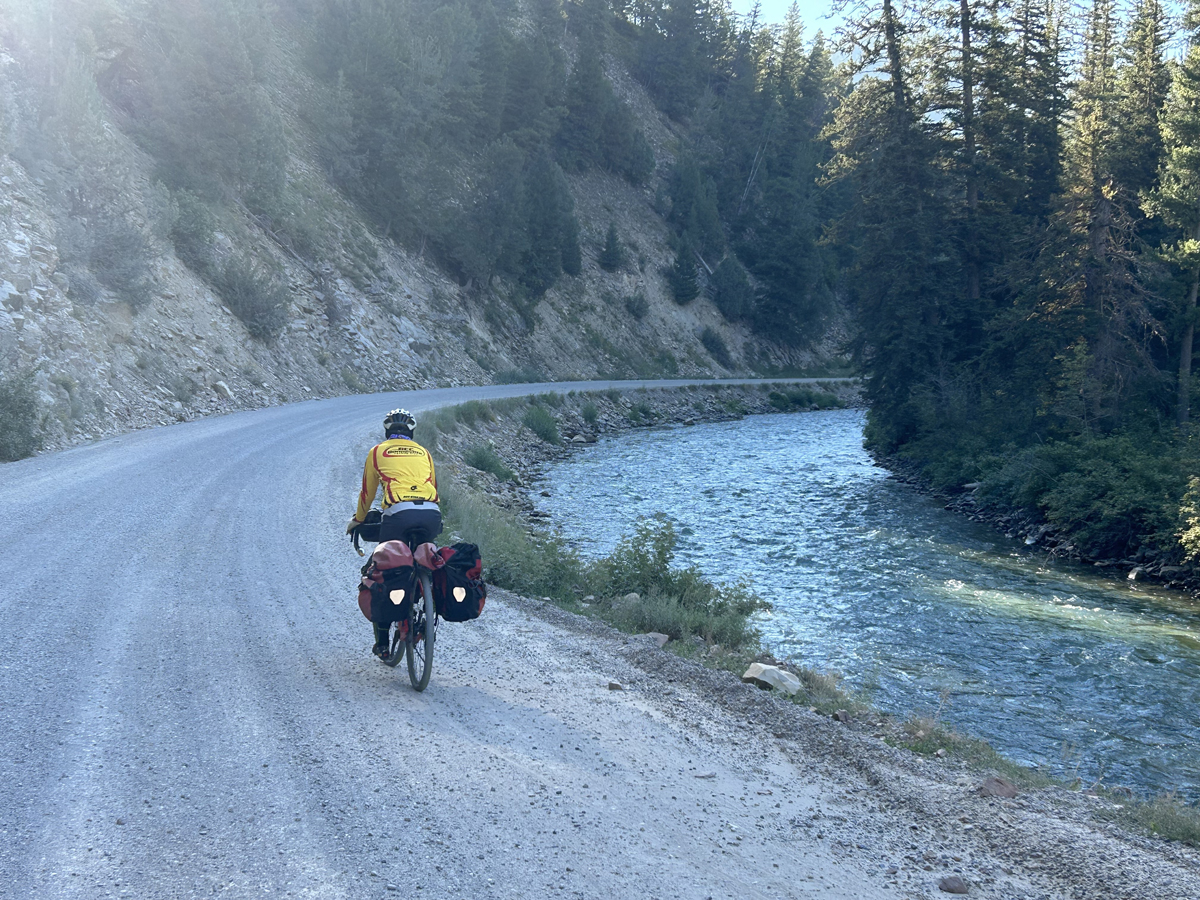
When I consider all the lows and all the highs, doing this route was definitely a net positive experience. I would highly recommend it because there are many points for resupply and camping, allowing you to be flexible in how you divvy out your daily miles. As for going solo, if you can do so responsibly and your family/spouse is okay with it, I say send it! And remember, the best bike is usually the one you own. It’s easy to make do with sub-optimal gear by making use of cheap racks, straps, and panniers (note the large sleeping bag strapped to my handlebars). Cost shouldn’t stop anybody from experiencing the wonder of bike touring and bikepacking. At the end of the day, it seems that one cliche rings true: the most important thing is to get out there and start riding. See you on the trail.
Cole’s Packing List:
- Bike repair – zip ties, chain breaker, quick links, multi-tool, mini cone wrenches, tire boot (dollar bill), patch kit, 2 tubes, tire sealant, chain lube, trail pump, FiberFix emergency spoke
- First aid kit, minimal survival kit
- Clothing – light jersey, wool jersey, chamois, overshorts, extra boxers, extra socks, base layer, half-finger gloves, light long-sleeve top, shell, buff
- Camping gear- hammock, plastic tarp, sleeping bag, Klymit pad, toiletries
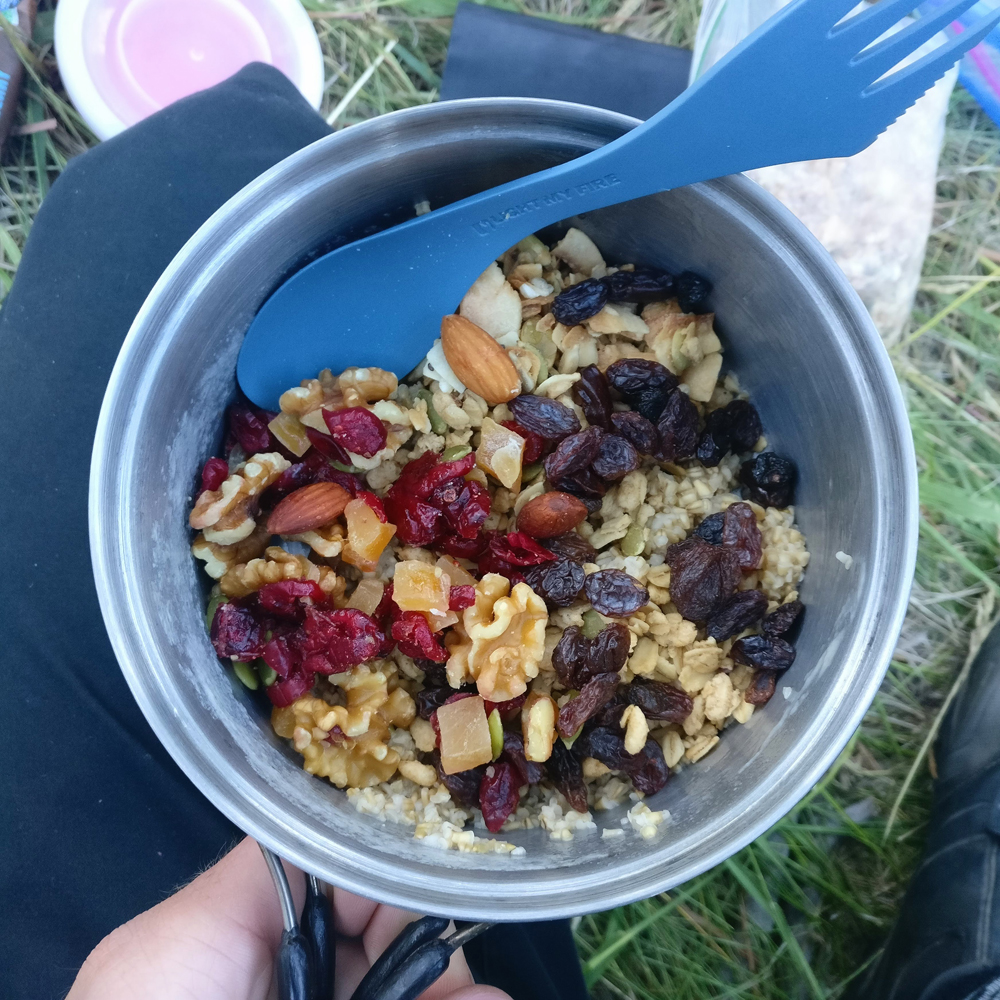
- Cook kit – propane stove, pot, sporknife, plastic mug, lighter,
- Water- two foldable bags, Sawyer straw filter, two water bottles (mounted on bike), 3L bladder (in backpack)
- Extras – Headlamp, solar charger, power bank, bike lights, Luminaid inflatable lantern, glasses, phone charger, maps, rope
Cole Taylor is entering his senior year at the Academy for Math, Engineering and Science (AMES). He also works and volunteers at the SLC Bicycle Collective and loves the Utah cycling community.





nice! how about details of your route?
Great read. I have friends in Steamboat and also Kremmling – so this may be my first solo bikepack trip. I know that elevation gain from SB to Kremmling well. Beautiful views.
Comments are closed.